- AU TAS UTAS ITCCD 2017/2-3
- Item
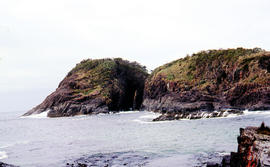
- 1960s
Part of Arthur Knight Slides
Arch island on Bruny Island
Arthur Knight
Part of Arthur Knight Slides
Arch island on Bruny Island
Arthur Knight
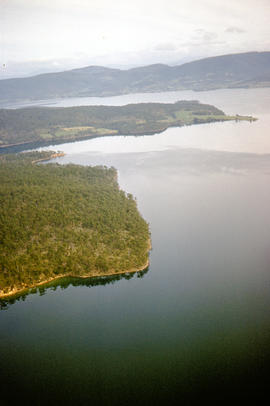
Aerial picture of Barnes Bay, 1950s
Part of Arthur Knight Slides
Aerial photograph of Barnes Bay on eastern side of Bruny Island.
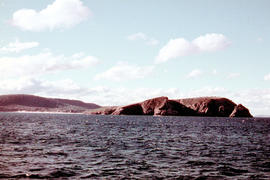
Part of Arthur Knight Slides
Colour photograph, taken at sea, looking towards Cape Queen Elizabeth, Bruny Island
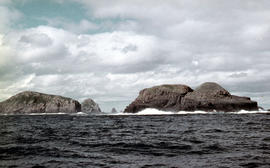
View of the Friars, off South Bruny Island
Part of Arthur Knight Slides
Colour photograph of Friars island group
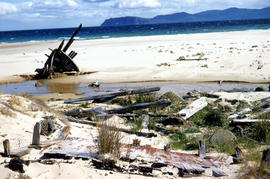
Wreck on beach near Mars Bluff
Part of Arthur Knight Slides
Colour photograph of rotting timbers from wreck of boat, half-buried in the sand near shallow creek on beach near Mars Bluff, Bruny Island, Photograph possibly taken 1963.
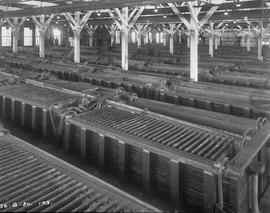
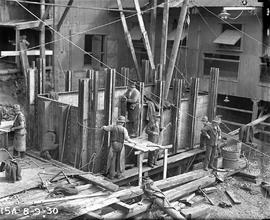
Cell room in the 100-ton plant
Black-and-white photograph shows the newly constructed cell room inside the 100-Ton plant at E.Z. Co. Zinc Works at Risdon, with Johns and Waygood stencilled on the overhead gantry
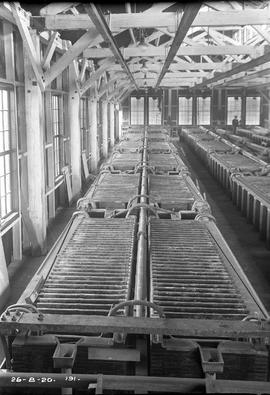
Interior of cell room at E.Z. Co. Zinc Works
Black-and-white photograph shows interior of cell room at E.Z. Co. Zinc Works at Risdon
Black-and-white photograph shows sawmill, timber and unsawn logs being used for construction of new plant at E.Z. Co. Zinc Works at Risdon
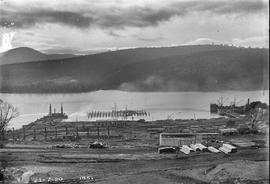
Construction of new wharf at E.Z. Co. Zinc Works
Black-and-white photograph shows construction of new wharf at E.Z. Co. Zinc Works at Risdon
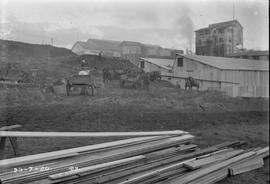
Horse carts and timber at E.Z. Co. Zinc Works
Black-and-white photograph shows stacks of sawn timber and workmen with horses and carts removing earth at an excavation on site E.Z. Co. Zinc Works at Risdon

Power house foundation work at E.Z. Co. Zinc Works
Black-and-white photograph shows foundation of power house 4th unit being built at E.Z. Co. Zinc Works at Risdon
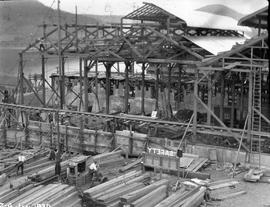
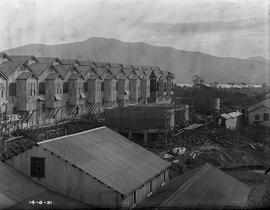
Looking north to cell room extension at E.Z. Co. Zinc Works
Black-and-white photograph of construction of cell room extension at E.Z. Co. Zinc Works at Risdon. Large sign reading “SAFETY” is mounted at ground level.
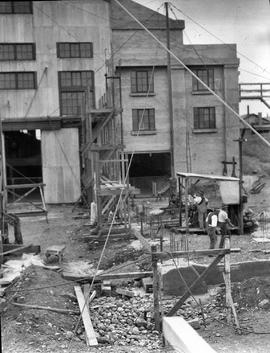
Workmen preparing footings for expansion at E.Z. Co. Zinc Works at Risdon
Black-and-white photograph depicts workmen preparing footings for expansion of power house at E.Z. Co. Zinc Works at Risdon

Excavation work for construction of furnace at E.Z. Co. Zinc Works
Black-and-white photograph shows workmen beginning excavation of site for new Derwent Prime furnace
Derwent Prime furnace jacket assembled at E.Z. Co. Zinc Works
Black-and-white photograph shows men assembling Derwent Prime furnace at E.Z. Co. Zinc Works at Risdon
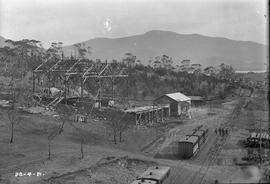
Framework of roasting division building at E.Z. Co. Zinc Works at Risdon
Black-and-white photograph shows framework and construction of roasting division building at E.Z. Co. Zinc Works at Risdon, above railway line, with stockpile of logs and timber above railway cutting; Mount Faulkner in background
Black-and-white photograph shows an elevated view of the cell room building, the roasting division and other buildings under construction, looking west, with Mount Faulkner in the background 1921
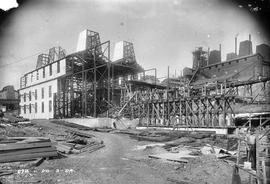
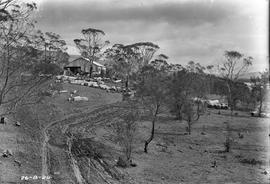
View of construction site uphill at E.Z. Co. Zinc Works at Risdon 1924
Black-and-white photograph shows view of new building on site, looking uphill, at E.Z. Co. Zinc Works at Risdon 1924
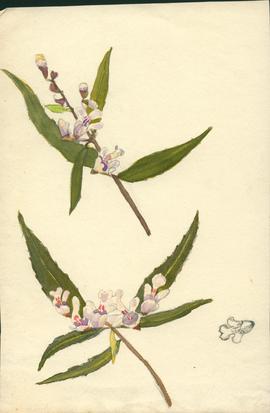
Part of Olive Pink Collection
Sketch of a Mint bush
Olive Pink

Part of George Musgrave Parker : Correspondence and research records
Postcard by D.I.C. Photo of the Post Office, Hobart, taken from Franklin Square
George Musgrave Parker
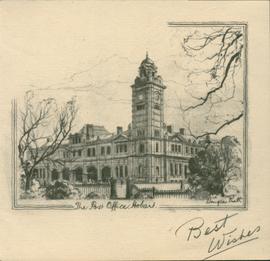
Part of George Musgrave Parker : Correspondence and research records
Small pencil sketch the Post Office, Hobart, by Douglas Pratt
George Musgrave Parker
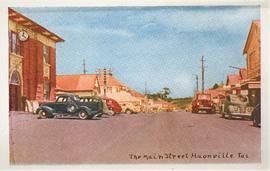
The Main Street, Huonville, Tas
Part of De La Haye Postcard Collection

Part of De La Haye Postcard Collection
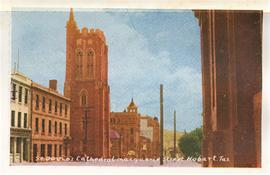
St. David's Cathedral, Macquarie Street, Hobart, Tasmania
Part of De La Haye Postcard Collection
Part of De La Haye Postcard Collection
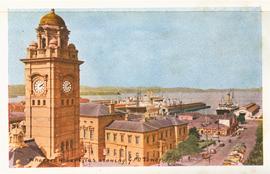
Wharves, Hobart, Tas., showing G.P.O. Tower
Part of De La Haye Postcard Collection
Part of De La Haye Postcard Collection
Dinghy on water in Barnes Bay 1960
Part of Hal Wyatt Collection
Colour photograph of three people in a dinghy, offshore at Barnes Bay, Bruny Island
Hal Wyatt
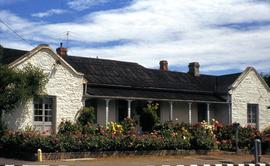
Rendered stone house at Bellerive with large floral garden
Part of Hal Wyatt Collection
Colour photograph of stone house at Bellerive, rendered or painted white, with flowers in bloom in front garden, in front of verandah, house old tin roof, on corner block, street pillar for PMG telephone cabling near letterbox
Hal Wyatt
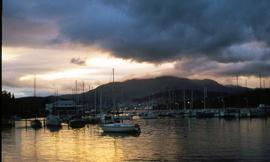
Part of Hal Wyatt Collection
Colour photograph taken at dusk, of Bellerive marina
Hal Wyatt
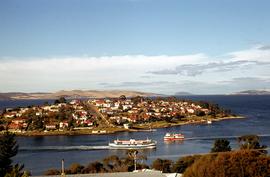
Part of Hal Wyatt Collection
Colour photograph shows two ferries travelling in opposite directions at Bellerive
Hal Wyatt
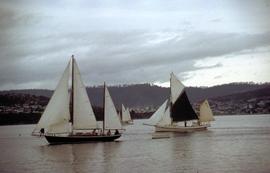
Yachts on river, one with black sail
Part of Hal Wyatt Collection
Colour photograph of three yachts under sail on Derwent River, one a ketch, has a black sail on the foremast.
Hal Wyatt
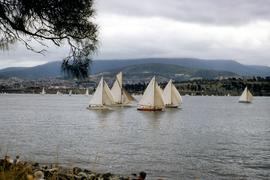
Boat race in Derwent River, 1954
Part of Hal Wyatt Collection
Colour photograph of single-masted yachts racing on Derwent River, 1954; people on rocky shore watching.
Hal Wyatt
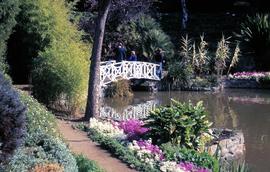
White bridge at botanical gardens
Part of Hal Wyatt Collection
Colour photograph shows people walking across white bridge, Royal Tasmanian Botanical Gardens, Queens Domain, Hobart.
Hal Wyatt
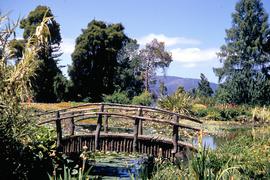
Timber bridge over pond at botanical gardens
Part of Hal Wyatt Collection
Colour photograph shows rustic timber bridge across a pond at Royal Tasmanian Botanical Gardens, Queens Domain, Hobart.
Hal Wyatt
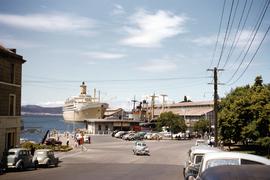
Murray Street ferry pier and ships docked in Hobart
Part of Hal Wyatt Collection
Colour photograph of ferry pier at bottom of Murray Street, Hobart, departure point for the Bellerive ferry; cargo and passenger ships docked at nearby Princes Wharf, including the steamer Orsova; sign advertising Cascade Ale on the Customs House Hotel.
Hal Wyatt
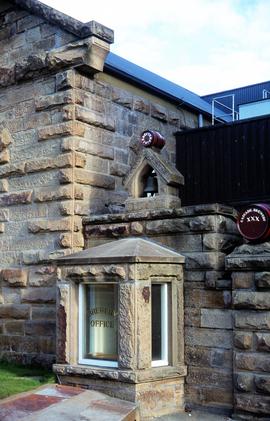
Office window at Cascade Brewery
Part of Hal Wyatt Collection
Colour photograph depicting facade of Cascade Brewery office, built in sandstone, with bell and decorative barrels mounted on roof, “Cascade Brewery XXX” and “Erected 1874”.
Hal Wyatt
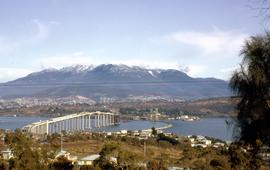
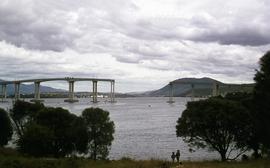
Tasman Bridge nears completion
Part of Hal Wyatt Collection
Colour photograph shows construction of Tasman Bridge, from Derwent River’s Eastern Shore. Shows spans of Tasman Bridge almost completed from Eastern Shore, temporary floating Hobart Bridge upstream of new multi-lane road bridge; snow on Mount Wellington in background. Printing or scanning error in photograph/slide shows coloured lines horizontally through. photograph.
Hal Wyatt
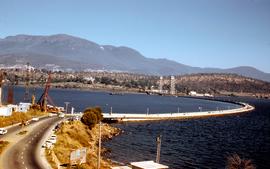
Beginning of construction of Tasman Bridge
Part of Hal Wyatt Collection
Colour photograph depicts vehicular traffic on the temporary, floating Hobart Bridge, as consctruction begins downstream on the multi-lane Tasman Bridge to join the eastern and western shores of the river.
Hal Wyatt
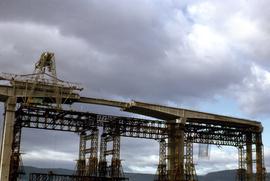
Centre span of Tasman Bridge under construction
Part of Hal Wyatt Collection
Colour photograph of the centre span of the Tasman Bridge is under construction in 1963, as viewed from a vehicle travelling on the nearby Hobart Bridge, which carries vehicular traffic across the Derwent River on a temporary, floating platform.
Hal Wyatt

Building main navigational span of Tasman Bridge 1963
Part of Hal Wyatt Collection
Colour photograph shows construction of the main navigation span of the Tasman Bridge across the Derwent River, taken 1963.
Hal Wyatt
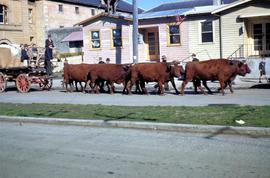
Bullock team in Dunn Street, Hobart, 1952
Part of Hal Wyatt Collection
Colour photograph depicts team of eight red oxen, most likely Red Devon or Shorthorn cattle, pulling a wagon on concrete roadway, in Dunn Street, Hobart, 1952, towards the city away from waterfront, wagon laden with hessian bags, children riding on wagon alongside several hatted men; passing in front of newly extended weatherboard building with newly installed windows; exterior of 1902 sandstone Customs House visible in background. Photograph is taken looking towards current site of Tasmanian Museum Art Gallery courtyard entrance, in area now known as Dunn Place.
Hal Wyatt
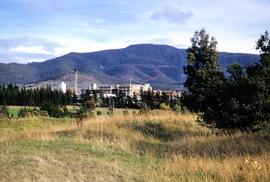
Part of Hal Wyatt Collection
Colour photograph of Cadbury chocolate factory at Claremont, obscured by pine trees at Claremont Golf Club.
Hal Wyatt
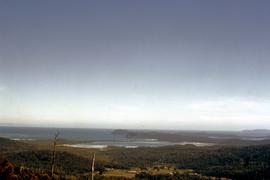
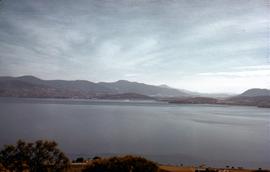
Part of Hal Wyatt Collection
Colour photograph shows clear day over Cloudy Bay at Bruny Island, taken in 1966.
Hal Wyatt
Missing span of Tasman Bridge after crash of Lake Illawarra
Part of Hal Wyatt Collection
Colour photograph of damaged Tasman Bridge, with two children standing on shoreline of Derwent River.
Hal Wyatt
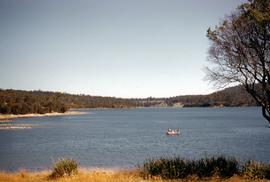
View of Derwent River from Doughty Point 1952
Part of Hal Wyatt Collection
Colour photograph of Derwent River, viewed from Doughty Point, taken 1952.
Hal Wyatt

"Cadbury advertising studio, early 60s. Studio manager: Geoff Parr. Left to right Betty Aunders, Merilyn ?, Dianne Davis, Bob Clegg, John Forsyth."
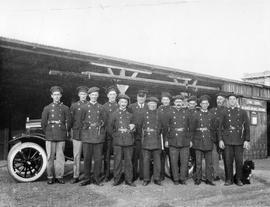
Group of firemen in uniform standing outside fire station, dog seated on ground at edge of group.
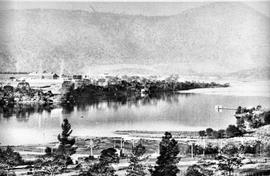
Indistinct black and white photograph looking across to the Cadbury site, Windermere Jetty visible.
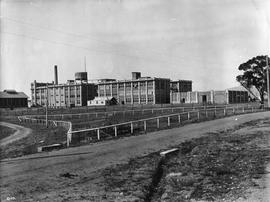
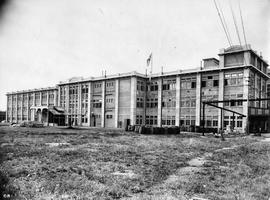
Three-storey buildings, Cadbury factory
Large three story complex forming part of the Cadbury factory.
Cadbury Fry Pascall Limited
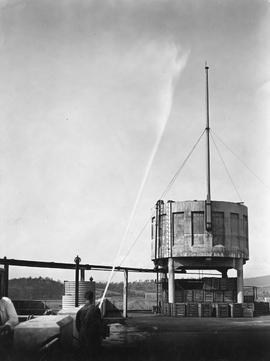
Large cement tank being sprayed with water by man holding high pressure fire hose.
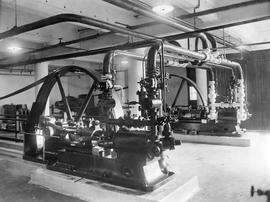
Piston engines.

Group of men wearing suits and ties posing for photograph on lawn.
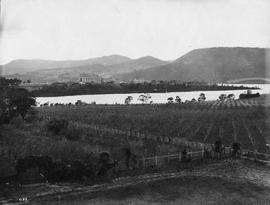
Orchard on the bank of the Derwent River with Cadbury factory in background.
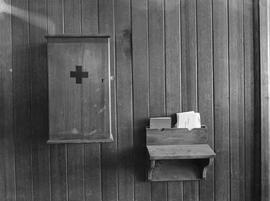
Wooden first aid cupboard and small shelf attached to wood panelled wall in the Cadbury factory at Claremont.
Large multi-storied building forming part of the Cadbury factory under construction. Wooden barrels can be seen on grass in front.
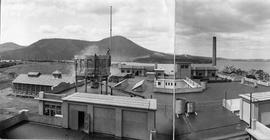
Panorama showing cement tower and chimney stack on top of building forming part of Cadbury site, with view of Derwent River and Mount Direction in distance.
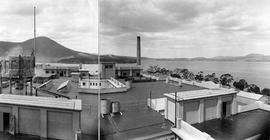
Tower on rooftop, Cadbury Factory
Panorama showing cement tower and chimney stack on top of building forming part of Cadbury site, with view of Derwent River and Mount Direction in distance.
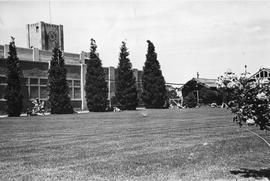
Lawn and Clock Tower, Cadbury Factory
People seated on lawn bordered by roses and Pencil pines, Cadbury factory clock tower visible.

Cadbury Factory surrounded by fields
View of Cadbury factory buildings under construction, with grassy ground in front and wooded hills in distance.
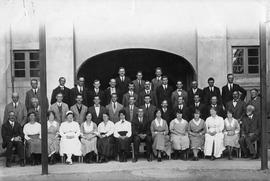
Group photograph, Cadbury Factory
Large group of people photographed outside portion of the Cadbury building.
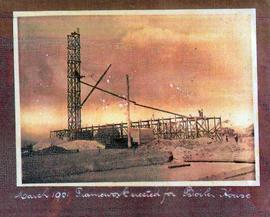
Boiler House Construction, Cadbury Factory
Framework of boiler house being erected, part of Cadbury factory. Photograph annotated March 1921.
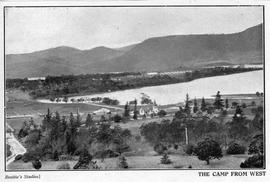
Claremont Military Camp from West
Claremont military camp. Photograph annotated The Camp from West. Photograph by Beattie's Studios.
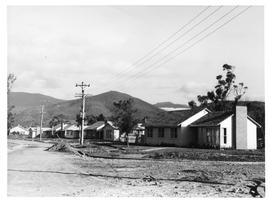
Newly built street of houses in Cadbury Estate, Claremont.
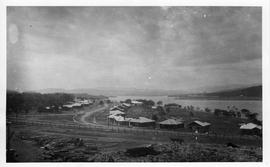
Newly built street of houses in Cadbury Estate with Derwent River in background.
New houses on Cadbury Estate, Claremont. Initials J.C.B. on lower right of photograph, indicate the photograph taken by Joseph. C. Breaden.
Joseph C. Breaden
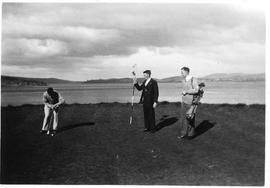
Three men playing golf, with one on putting green. Derwent River in background.
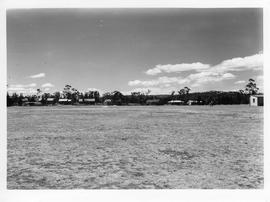
Houses under construction, Cadbury Estate
Woman and child walking across grassy fields, with several houses under construction in background.
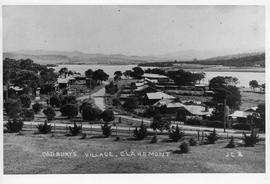
Newly constructed homes, Cadbury Estate, Claremont.
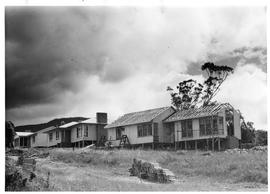
Roofing a New House, Cadbury Estate, Claremont.
New homes being constructed, Cadbury Village, Claremont.
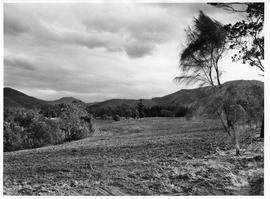
Clearing with hills in background
Cleared land with hills behind.

Cleared land with large gum tree on the left, river and hills behind.
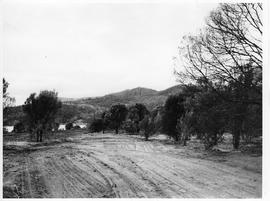
Cleared land with river and hills behind.
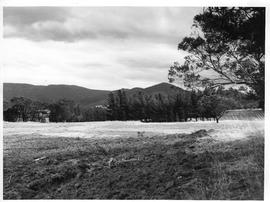
Cleared land with pine trees and hills, glimpses of golf course behind trees.
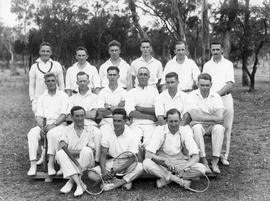
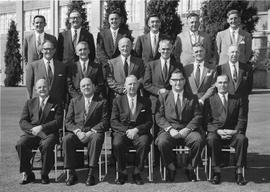
Representatives and Cadbury Fry Pascal Tennis Team
Representatives and CFP Tennis Team, Representatives Conference 1927. Left to right Back: J Brain, AE Austin, R Bailey, T Wilkes, HV McKernn, TA Cooper. Centre: PA Carle, AE Burke, HV Davies, W Lees, JH Cooper, TA Wilson. Front: Brian Richards, F Berskine, TH Bentley.
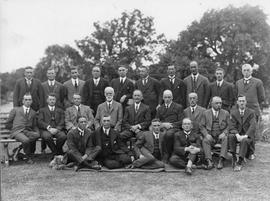
Sales Conference at Claremont 1922
Sales Conference at Claremont 1922. Left to right. Back: DC Vernon, AE Clarke, JH Cooper, W Lees, N Benson, JP Whitworth, WH Plamer, S Lees, VC Smith, JP Wilson. Front: H Theobald, WH Clarke, EH Colleyshaw, W Cooper, TE Cooper, WA Cadbury, T Coley, TJ Jeffrey, AE Lodge. Sitting: H Hives, JC Tankard, F Erskine.

Cricket Team – Representatives Conference, Cadbury 1927
Cricket Team – Representatives Conference 1927. Left to right. Back: WL Cooper, FB Richardson, HG Kelly, CA Tudor, JM Williams, EG Frappell. Front: BA Wells, H Colbourne, TE Cooper, LD Davies, DD Willis.
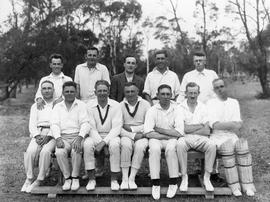
Representatives Cricket Team, Cadbury 1927
Representatives Cricket Team 1927. Left to right. Back: R Prewett, F Cass, EN Teiffel, AJ Fraser, WH Clarke. Front: Horace Smith, H Bryant, E Whiteman, N Benson, G Steeper, HE Theobld.
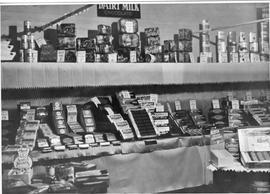
Display of Cadbury chocolate bars, assorted boxed chocolates and tinned items
Shop stocked with various Cadbury chocolate bars, assorted boxed chocolates and tinned items.
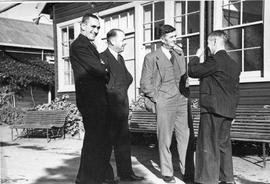
Attendees of Marketing Conference
Attendees of Marketing Conference July 1949.
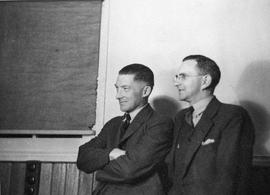
MG Wells and AH Seaton, attendees of Marketing Conference, 1949
MG Wells and AH Seaton, taking a break from the Marketing Conference July 1949
Attendees Marketing Conference July 1949
Attendees taking a break in the sun, Marketing Conference July 1949.
Attendees of Conference, November 1948
November 1948 Conference attendees. Left to right: BC Johnston, FA Pollard, WA Smith, I van Assche, EF McDade, JWC Wyatt, AG Whitlam, HV McKernan, VC Smith, AH Sexton.
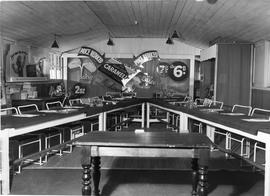
Conference Room (Social Hall) 1950
Conference Room (Social Hall) April 17th to 21st, 1950. Sales and advertising material in background. Photograph taken by Courtney Cains, Photographic Illustrator, Hobart
Accountants Conference Attendees Claremont 29th March-2nd April, 1954
Accountants Conference Claremont 29th March-2nd April, 1954. Standing: DO Coleman, BA Wells, LH Cocker, NL Adamson, VA Benjafield, JH Cooper, BL Auchincloss, JC Reid. Seated: RA Smith, NH Simons, HV McKernan, JPD Lloyd, HJ Bradfield, WE Croome, VC Burley.
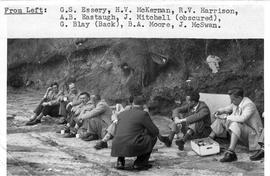
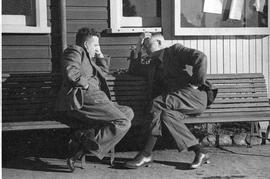
Group seated on ground taking a rest break
Group seated on ground drinking from cups, fruit in box. Left to right: GS Essery, HV McKernan, RV Harrison, AB Eastaugh, J Mitchell (obscured) G Blay (back) BA Moore, J McSwan.

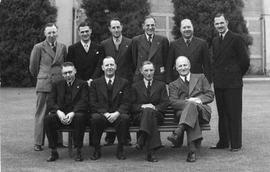
Group photograph. Left to right. Back: AJ Uglow, MG Wells, G Blay, AB Eastaugh, JS Oldrey, J McSwan, RV Harrison, RM Conway, DB Orr. Centre: RB Thistlethwayte, E Dewhurst, WA Hopkins, BA Moore, KG Woods, GJ Budd, D McEvoy. Front: DF MacKenzie, GS Essery, JWC Wyett, VG Burley, JPD Lloyd, HV McKernan, RA Smith, J Mitchell, WR Prendergast.
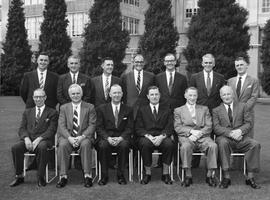
Area Sales Managers Conference Claremont, March 1958. S/A Department and Sales Managers.
Area Sales Managers Conference Claremont, March 1958. S/A Department and Sales Managers. Left to right. Back: TO Kelly, NF Mitchell (Vic) RV Palesy (NSW) RV Harrison (Tas) MG Wells, RM Conway. Centre: I van Assche (WA) DR Atkins (Vic) AH Seaton (SA) FW Thomas (NSW) FA Pollard (Newcastle) BC Johnston (Qld) Seated: AB Eastaugh, WA Hopkins, HV McKernan, DS Newman, JWC Wyett
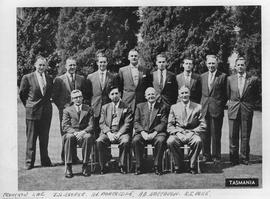
Area Sales Managers Conference Claremont, March 1958. Directors and Sales Managers.
Area Sales Managers Conference Claremont March, 1958. Directors and Sales Managers. Left to right. Standing: RV Palesy (NSW) DR Atkins (Vic) RV Harrison (Tas) I van Assche (WA) NF Mitchell (Vic) FW Thomas (NSW) FA Pollard (Newcastle) Seated: BC Johnston (Qld) VG Burley, HV McKernan, JPD Lloyd, RA Smith, AH Seaton (SA)
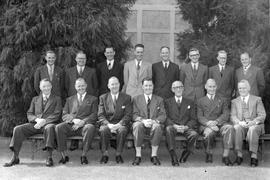
Group photograph, Tasmanian Conference
Group photograph, Tasmanian Conference. Information available for front row only. Left to right: JH Cooper, HC Partridge, AB Eastaugh, RS Poke
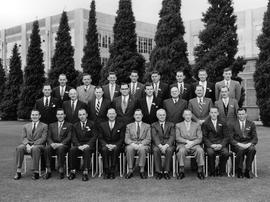
Representatives Conference Claremont, 13th-19th October 1957
Representatives Conference 13th-19th October, 1957. Left to right. Back: AJ Chapman (Vic) MG Wells, KA Watkins (NSW) DH Dunwell (NSW) RF Carruthers (WA) WA Bergan (NSW) H Dent (NSW) AJ Uglow. Standing: JWC Wyett, AB Eastaugh, GCP Falloom DS Newman, RO Coomber (Vic) WA Hopkins, PA Gargett (SA) JC Nisbet (Tas) Seated: SL Williams (Qld) BJ Wicks (SA) HC Gehring (Vic) HV McKernan, JPL Lloyd, VG Burley, RA Smith, LH Fredline (qld) ID Roberts (Vic)
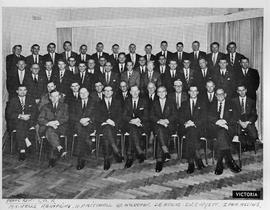
Group photograph, Victorian Conference
Group photograph, Victorian conference. Information available for front row only: M.G. Wells, W.A. Hopkins, N.F. Mitchell, H.V. McKernan, D.R. Atkins, J.W.C. Wyett, I. Van Assche
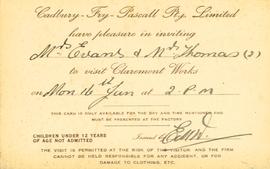
Invitation to visit the Cadbury factory, Claremont
Invitation from Cadbury Fry Pascall to Mrs Evans and Mrs Thomas to visit the Claremont Works on Monday 16th January at 2 p.m.
Advertisement for Cadbury's Energy Chocolate
Advertisement for Cadbury's Energy Chocolate.
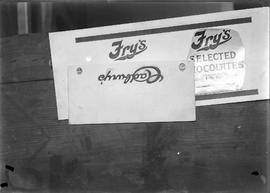
Artwork of logo for Fry's Selected Chocolates
Artwork of Cadbury Fry's logo for Selected Chocolates.
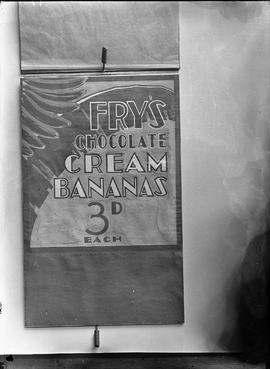
Advertising poster for Fry's Chocolate Cream Bananas
Advertising poster for Fry's Chocolate Cream Bananas. Cost 3d each.
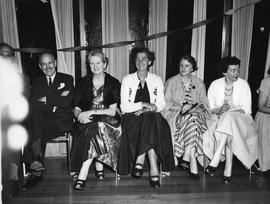
Attending an evening function, Cadbury's
Several men and women seated at side of dance floor, wearing evening dress.
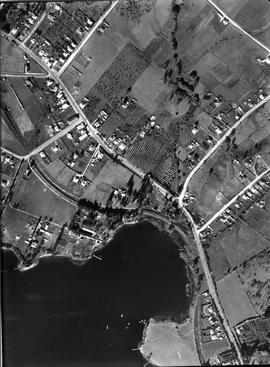
Aerial photograph of Cadbury area, Claremont.
Aerial photograph of Cadbury area, Claremont.
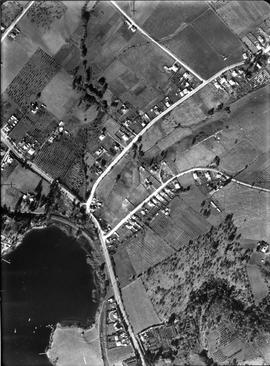
Aerial photograph of Claremont area.
Aerial photograph of Claremont area.

Aerial photograph of Cadbury Factory, Claremont.
Aerial photograph of Cadbury Factory and surrounding area including houses along Bournville Crescent, Claremont