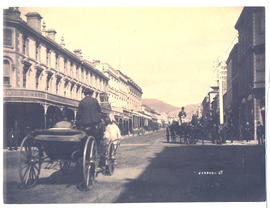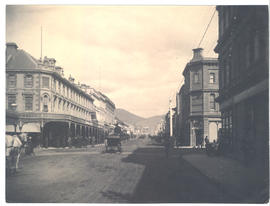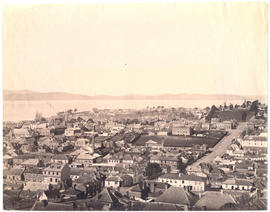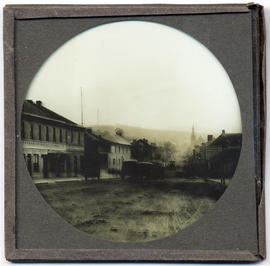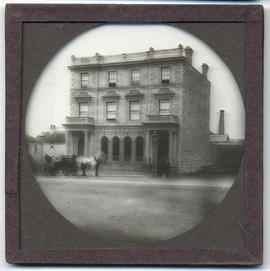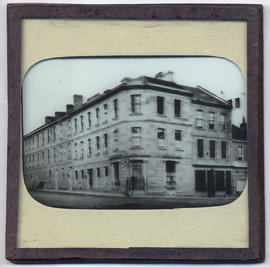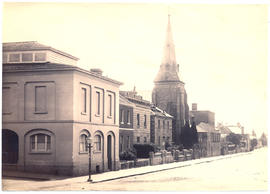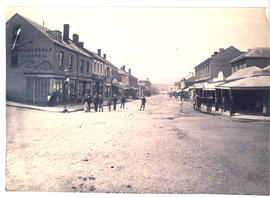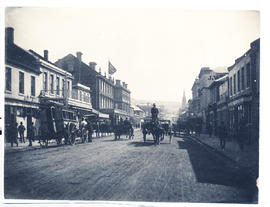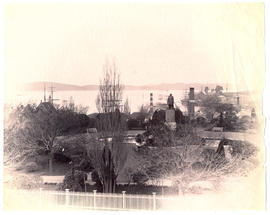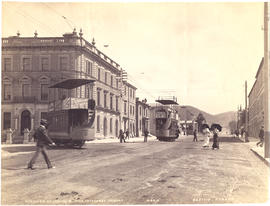
Macquarie Street, Hobart, Tasmania, looking south from St. David's Cathedral
- AU TAS UTAS SPARC W9-Ph-130-1
- Sub-item
- 1893
Part of Walker Family Papers
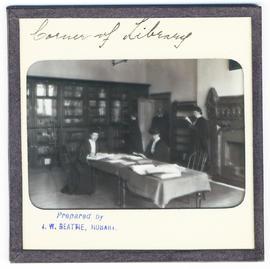
Photograph of Macquarie Street looking south from St. David's Cathedral in about 1893 showing two electric trams. The photographer is J.W. Beattie whose studios were located in Elizabeth and Murray Streets from 1891 until 1994
John Watt Beattie