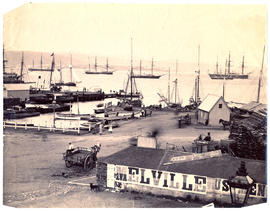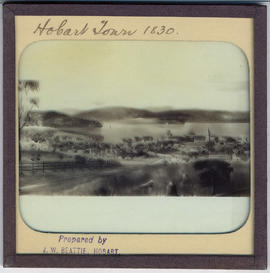
- AU TAS UTAS SPARC W9-Ph-LS-1
- Sub-item
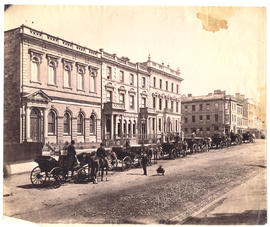
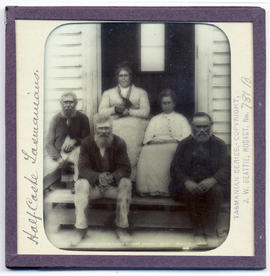
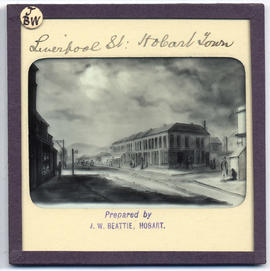
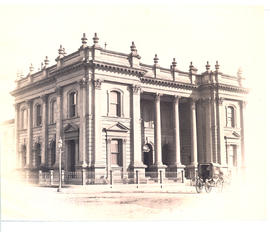
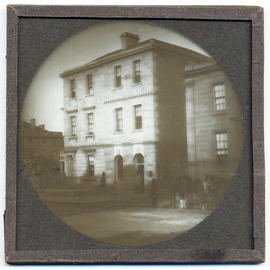
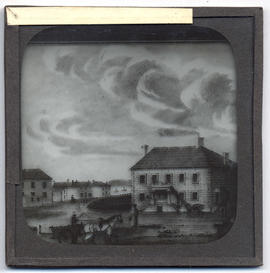
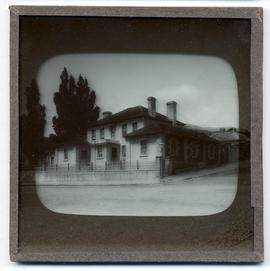
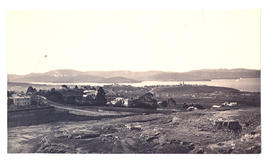
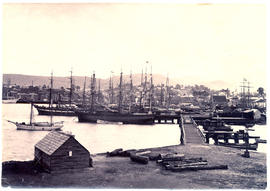
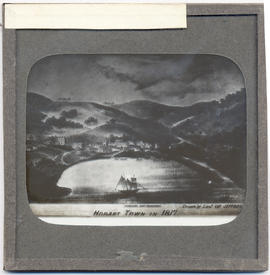
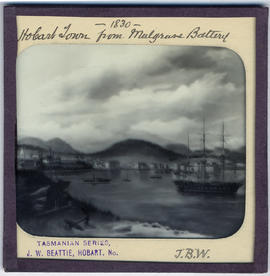
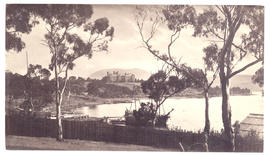
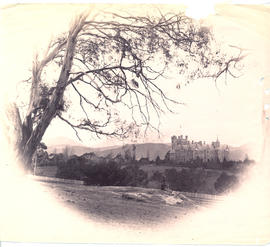
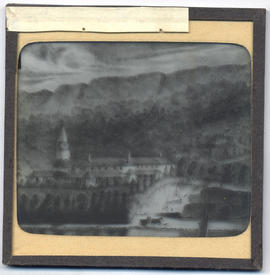
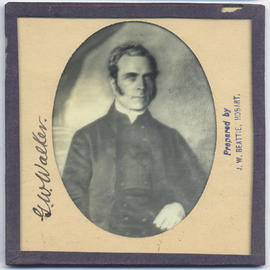
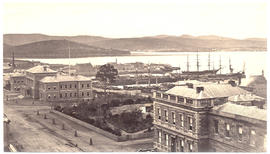
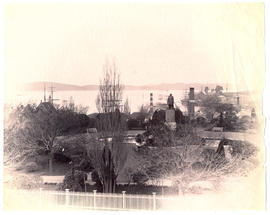
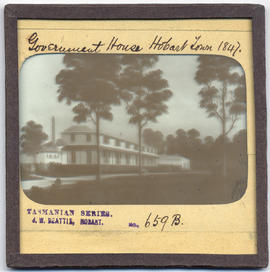
- 1847
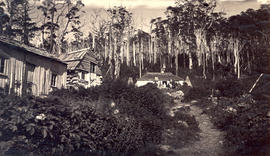
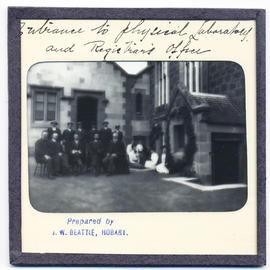
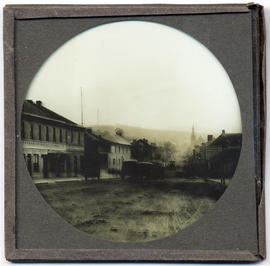
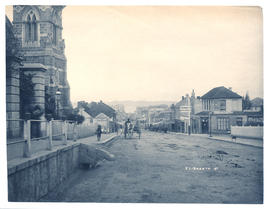
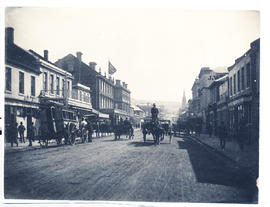
Part of Walker Family Papers
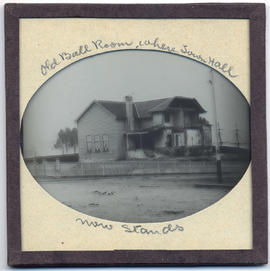
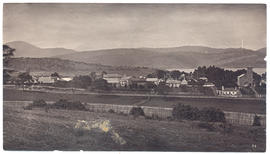
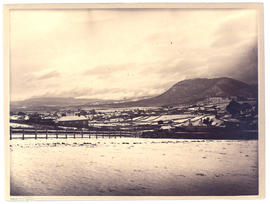
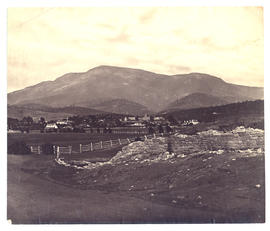
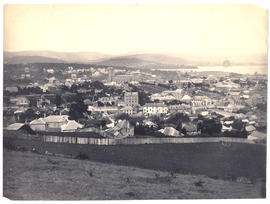
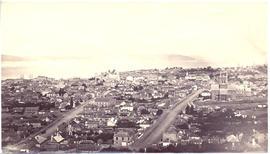
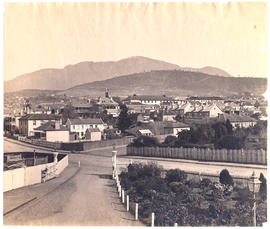
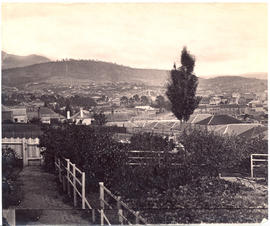
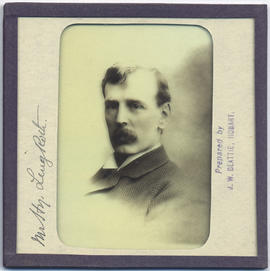
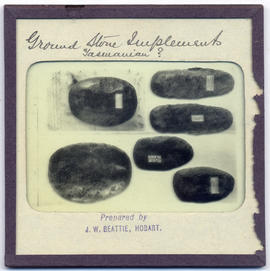
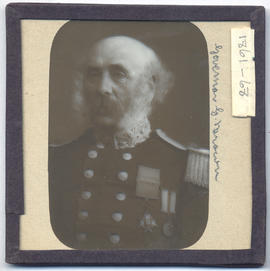
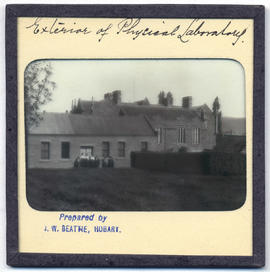
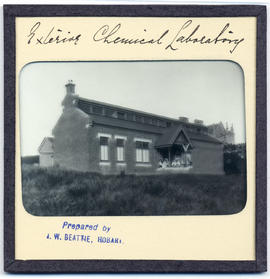
Lantern slide from the collection of James Backhouse Walker of old Government House, Hobart Town, Van Diemen's Land 1847. Prepared by J.W. Beattie (1859-1930) whose studio locations were in Elizabeth Street, Hobart from 1891-1920, Murray Street from 1921-40 and Cat and Fiddle Arcade, Hobart, until 1994.
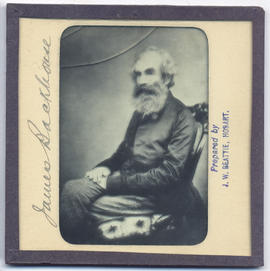
John Watt Beattie