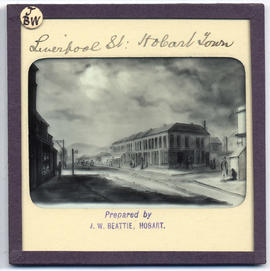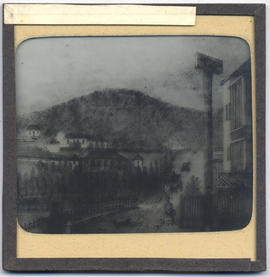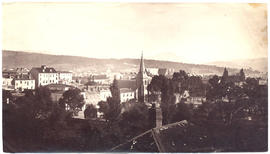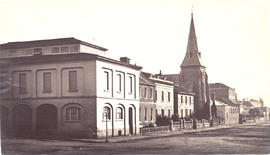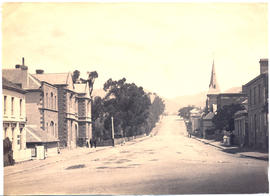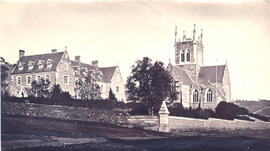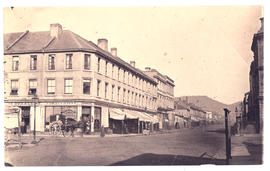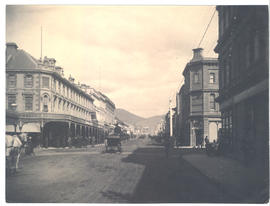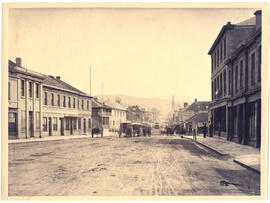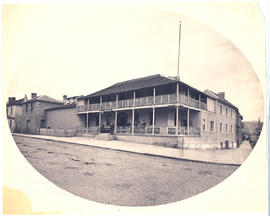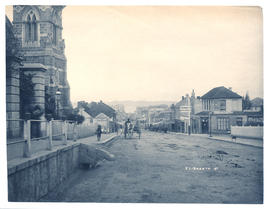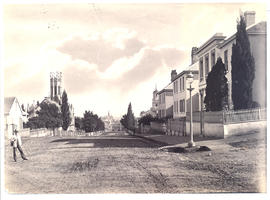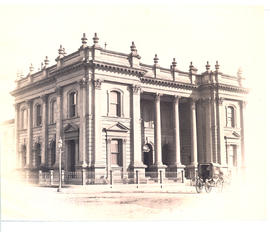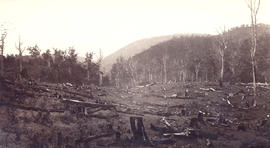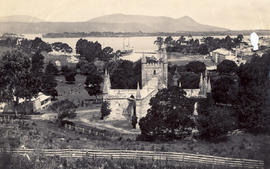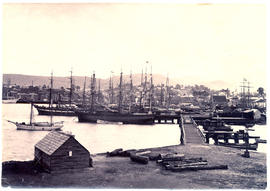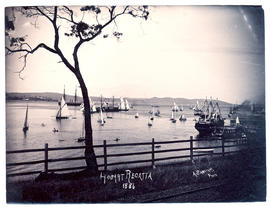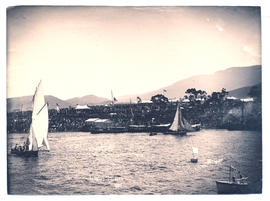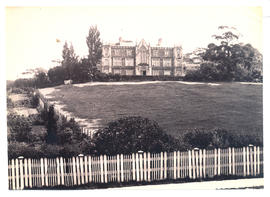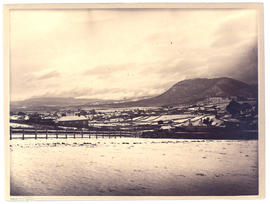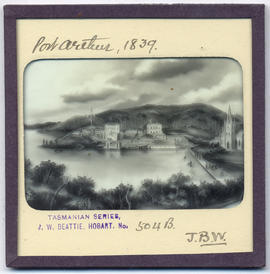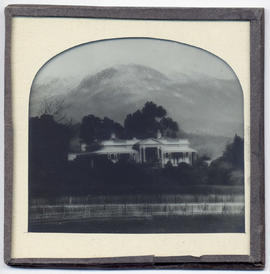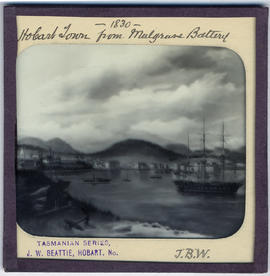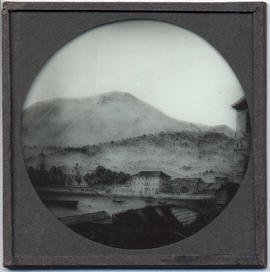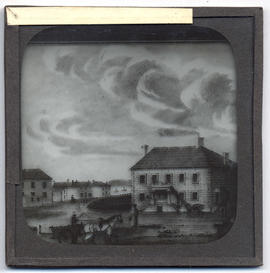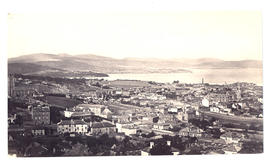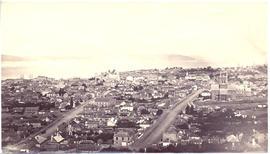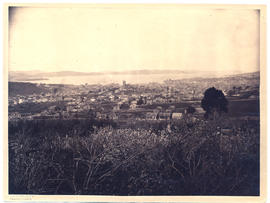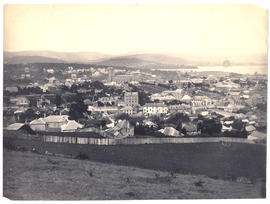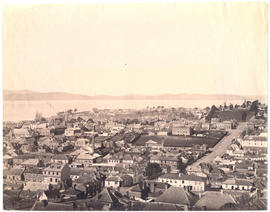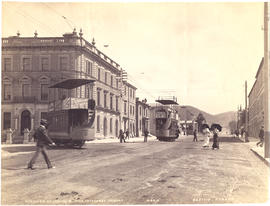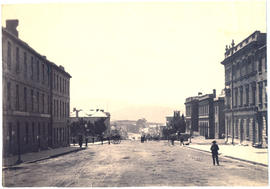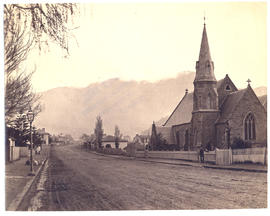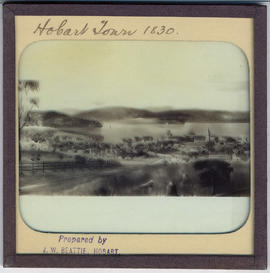
Hobart Town, Van Diemen's Land in 1830
- AU TAS UTAS SPARC W9-Ph-LS-21
- Sub-item
- 1830
Part of Walker Family Papers
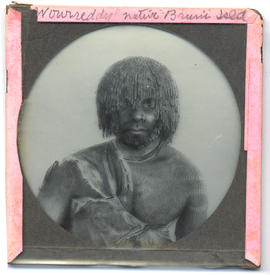
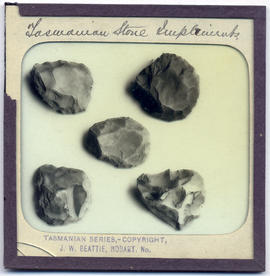
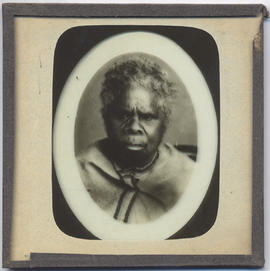
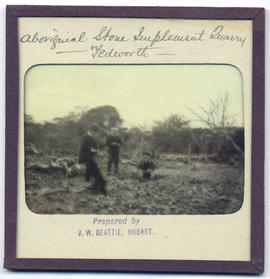
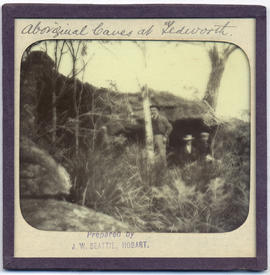
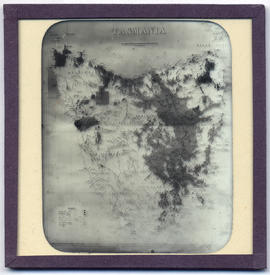
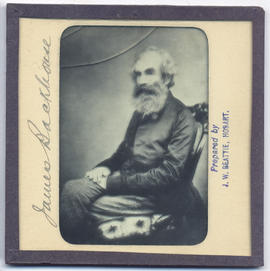
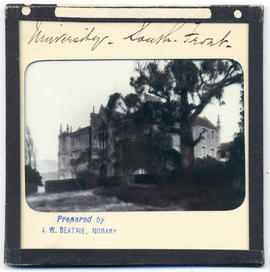
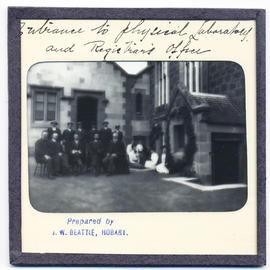
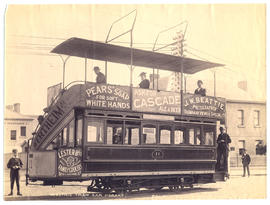
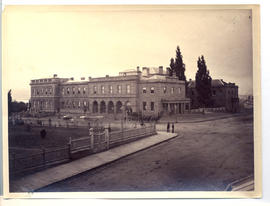
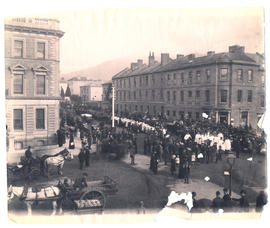
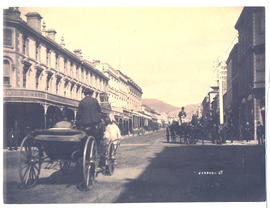
Lantern slide of early print of Hobart Town, Van Diemen's Land in 1830. From the collection of James Backhouse Walker. Prepared by J.W. Beattie (1859-1930) whose studio locations were in Elizabeth Street, Hobart from 1891-1920, Murray Street from 1921-40 and Cat and Fiddle Arcade, Hobart, until 1994.
John Watt Beattie