Boiler House Construction, Cadbury Factory
- AU TAS UTAS ITCCD 2017/18-48
- Item
- 1921
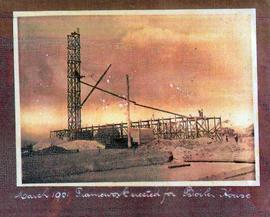
Framework of boiler house being erected, part of Cadbury factory. Photograph annotated March 1921.
Boiler House Construction, Cadbury Factory
Framework of boiler house being erected, part of Cadbury factory. Photograph annotated March 1921.
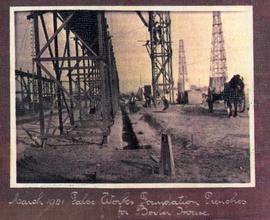
Foundation Trenches, Cadbury Factory
Foundation trenches for boiler house, part of Cadbury factory. Photograph annotated March 1921.

"Cadbury advertising studio, early 60s. Studio manager: Geoff Parr. Left to right Betty Aunders, Merilyn ?, Dianne Davis, Bob Clegg, John Forsyth."
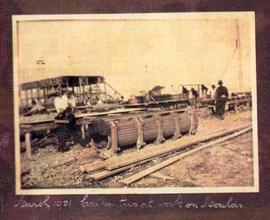
Carpenters working on constructing wooden moulds, part of Cadbury factory construction. Photograph annotated March 1921.
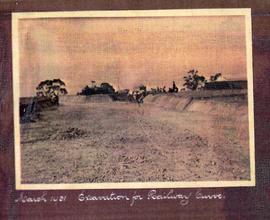
Preparing Railway Foundation, Cadbury Factory
Excavation for railway curve, part of Cadbury factory construction. Photograph annotated March 1921.
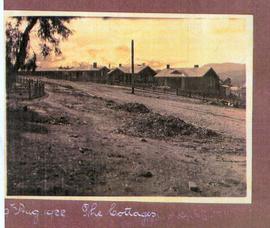
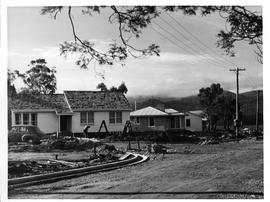
Row of cottages constructed on Cadbury estate. Photograph annotated 19th August 1922.
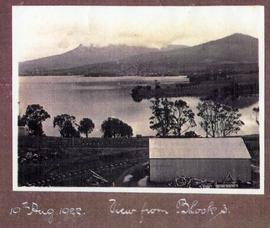
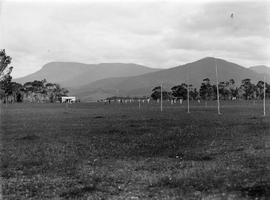
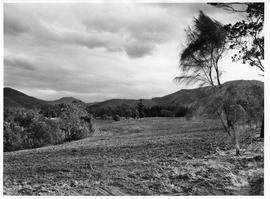
Mt Wellington from Cadbury Factory
View from Cadbury site across to orchard. Mt. Wellington in background. Photograph annotated View from block 3. 19th August 1922.
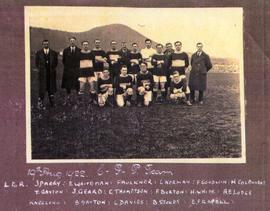
Group photograph of football team. Photograph annotated as 19th August 1922. C.F.P. Team. L to R: J Parry, E Whoteman, Faulkner, L Norman, F Goodwin, H Colbourne, T Gayton, J Geard, C Thomptson, F Burton, H White, A E Lodge. Kneeling: B Gayton, L Davies, B Stokes, E Frapell.
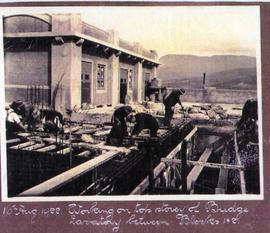
Construction at Cadbury Factory, 1922
Men working on construction of top story of bridge between blocks 1 and 2. Photograph annotated 16th August 1922.
Soldiers at Claremont Military Camp
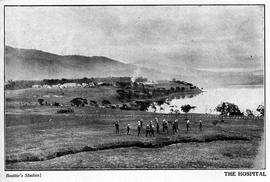
Soldiers in uniform in field, Tents and buildings of Claremont Military camp and hospital also visible. Photograph annotated The Hospital. Photograph by Beattie's Studios.
Claremont Military Camp from Parade Ground
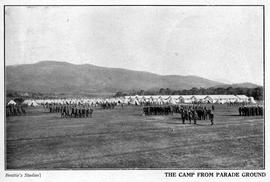
Groups of soldiers on parade ground, tents and buildings in background. Photograph annotated The Camp from Parade Ground. Photograph by Beattie's Studios.
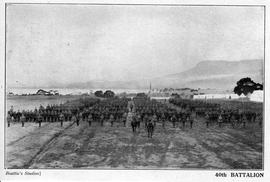
Soldiers and horsemen on parade ground with Mt. Wellington in background. Photograph annotated 40th Battalion. Photograph by Beattie's Studios.
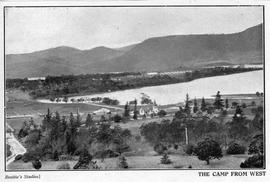
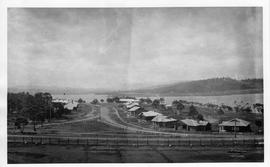
Claremont Military Camp from West
Claremont military camp. Photograph annotated The Camp from West. Photograph by Beattie's Studios.
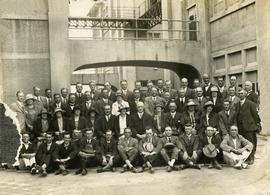
Large group of people photographed outside portion of the Cadbury building. Photograph slightly damaged at edge.
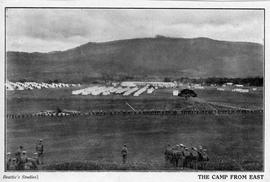
Claremont Military Camp from East
Soldiers on parade ground, with tents in background. Photograph annotated The Camp from East. Photograph by Beattie's Studios.
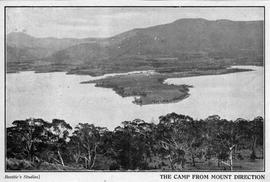
Claremont Military Camp from Mount Direction
Photograph of Claremont Military camp taken from high ground. Photograph annotated The Camp from Mount Direction. Photograph by Beattie's Studios.
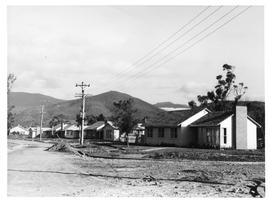
Newly built street of houses in Cadbury Estate, Claremont.
Newly built street of houses in Cadbury Estate with Derwent River in background.
Cadbury Military Camp from Mt. Direction.
Photograph from Mt. Direction showing Cadbury Military Camp and surrounding area.
New houses on Cadbury Estate, Claremont. Initials J.C.B. on lower right of photograph, indicate the photograph taken by Joseph. C. Breaden.
Joseph C. Breaden
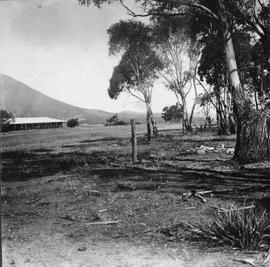
Clearing with gum trees at side, with long tin roofed building in distance.
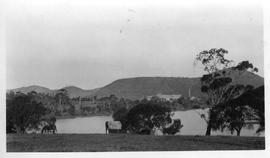
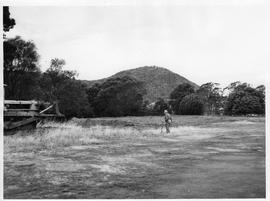
View across water to the Cadbury factory, horses grazing in foreground.
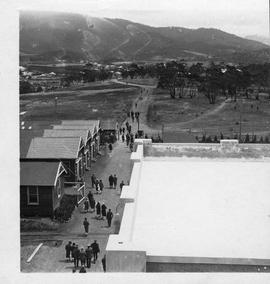
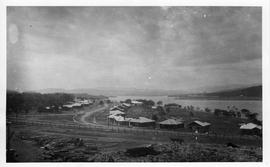
Employees leaving Cadbury Factory
Employees finishing shift at Cadbury Factory, walking past a row of wooden buildings with dirt road continuing down slope.
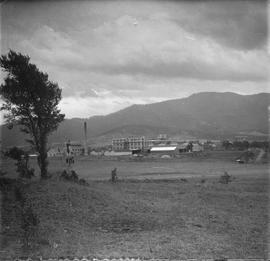
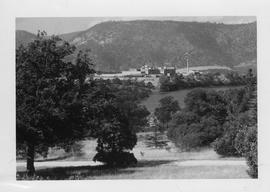
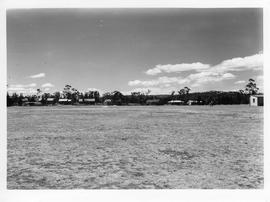
Cadbury factory buildings viewed across fields.
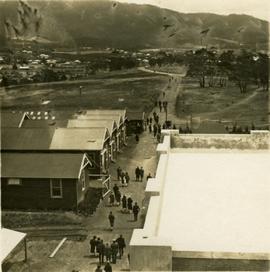
Employees leaving Cadbury Factory
Groups of employees walking past a row of wooden buildings at the end of their shift, Cadbury factory.

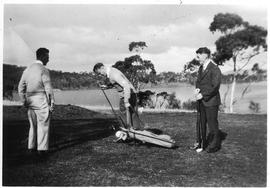
Four men playing golf. Back of photograph states The Origin of Claremont Golf Club 1926? (Lunch hour golf) Left to right: Wal Morrow (scorer), HV McKernan, Will Cooper, FB Richardson. Photo by JA Cooper (his clubs lying on green)
Cricket game in progress, Cadbury Factory.
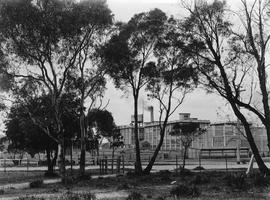
Cadbury Factory with Gum Trees
Cadbury factory as seen through stand of gum trees.
Cadbury Factory seen through stand of gum trees. Photograph taken from Windemere. Photograph by J J N Barnett.
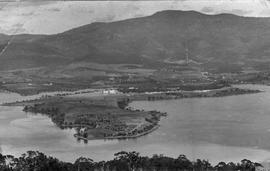
Aerial view of Cadbury factory and surrounding area. Taken by J J N Barnett 1926?

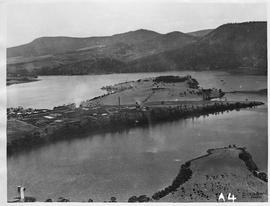
Cadbury Factory and River from Air
Aerial view of Cadbury factory and surrounding area. Photograph taken by J J N Barnett. Photograph annotated A4 A2.
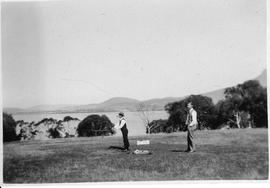
Two men playing golf with Derwent River in background. One man smoking pipe.
Three men playing golf, river in background.
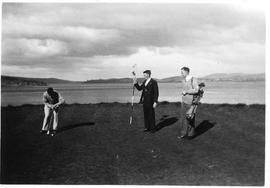
Three men playing golf, with one on putting green. Derwent River in background.
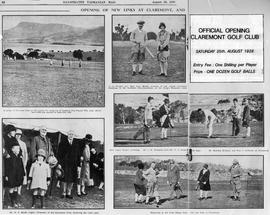
Official Opening of Claremont Golf Club
Photographs from The Illustrated Tasmanian Mail, August 29, 1928. Advertising the Official Opening of the Claremont Golf Club. Entry fee 1 shilling per player. Prize of 1 dozen golf balls.
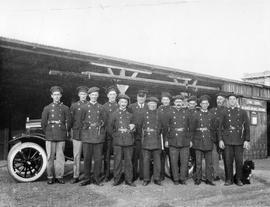
Group of firemen in uniform standing outside fire station, dog seated on ground at edge of group.

Men playing golf
Houses under construction, Cadbury Estate
Wooden framework constructed for several buildings, trees and hills in background.
Houses under construction, Cadbury Estate
Woman and child walking across grassy fields, with several houses under construction in background.
Constructing footpath and nature strip, Cadbury Estate
Footpath and nature strip under construction, Cadbury Estate.
Newly constructed homes, Cadbury Estate, Claremont.
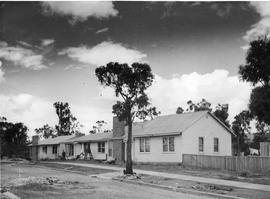
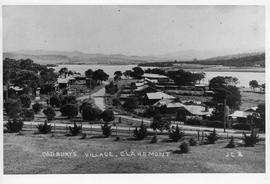
Houses on the Cadbury Estate, Claremont
Newly constructed wooden homes, Cadbury Village, Claremont.
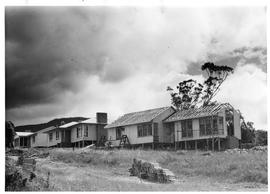
Roofing a New House, Cadbury Estate, Claremont.
New homes being constructed, Cadbury Village, Claremont.
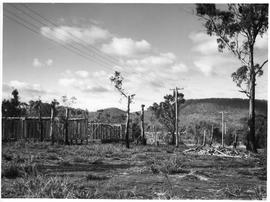
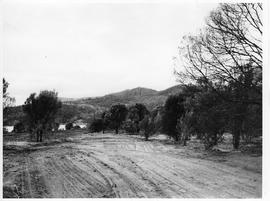
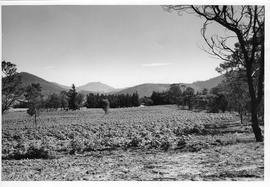
Clearing with hills in background
Cleared land with hills behind.

Cleared land with large gum tree on the left, river and hills behind.
Cleared land with man holding a shovel, bulldozer at side.
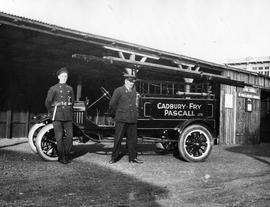
Two men in uniform standing in front of the Cadbury Fry Pascall fire truck.
Cleared land with river and hills behind.
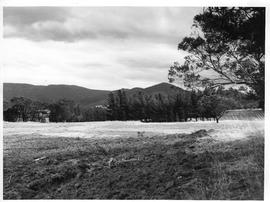
Cleared land with hills in background
Cleared land with hills and water behind.
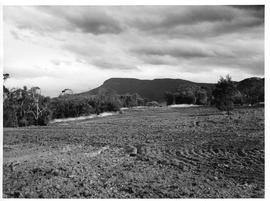
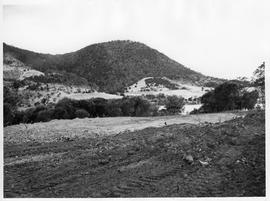
Large clearing, Mt. Wellington in background
Cleared land with Mt. Wellington behind.
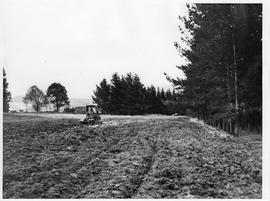
Bulldozer clearing land, pine trees around edge of plot.
Cleared land with pine trees and hills, glimpses of golf course behind trees.

Cleared land with hills behind
Cleared land with golf course and wooded hills behind.
Cleared land with hills and pine trees
Cleared land bordered with pine trees, wooded hills in distance.
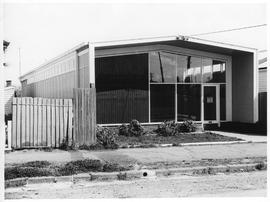
Single storey industrial building with glass frontage on roadside. Sign on door gives opening hours.
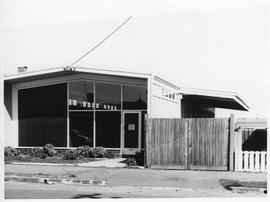
Glass fronted building, viewed from street
Single-storey industrial building with glass frontage on roadside. Verandah and gates across driveway to left of building.
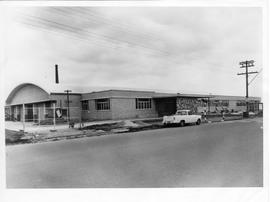
Brick building with curved roof
Brick building with curved roof, Holden ute parked in street.
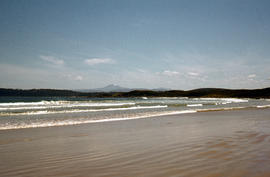
Part of Arthur Knight Slides
Colour photograph taken from beach at Cloudy Bay on Bruny Island, looking west to Adamsons Peak on Tasmanian mainland
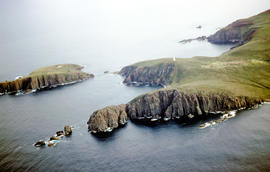
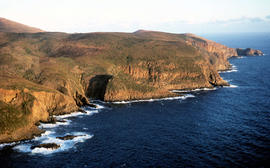
Aerial view of Cape Bruny from south-east
Part of Arthur Knight Slides
Colour photograph of Cape Bruny taken from the air. Photograph depicts coastline of South Bruny Island including lighthouse, Courts Island, Lighthouse Bay
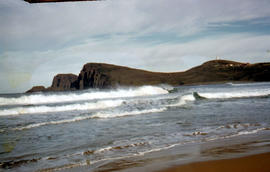
View of Cape Bruny and lighthouse from Lighthouse Bay
Part of Arthur Knight Slides
Colour photograph of waves breaking in Lighthouse Bay, with cliffs and headland of Cape Bruny and Bruny Island Lighthouse in background. Discolouration in scanned image from original slide.

View of Cape Bruny and lighthouse from Lighthouse Bay
Part of Arthur Knight Slides
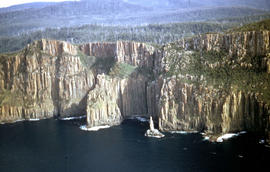
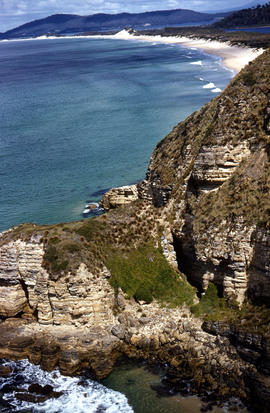
Colour photograph of cliffs of Cape Connella, South Bruny Island
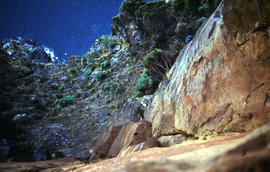
View of shoreline at base of Cape Connella, looking down cliff face
Part of Arthur Knight Slides
Colour photograph of shoreline at base of Cape Connella, South Bruny Island, looking down the cliff face.
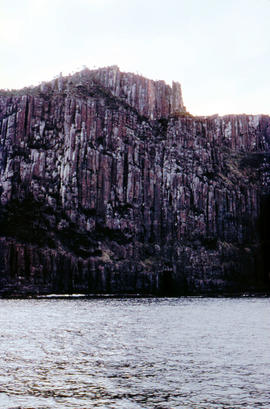
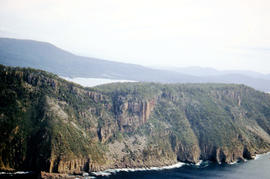
View of Cape Connella from sea level
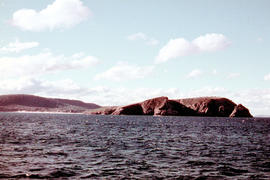
Part of Arthur Knight Slides
Colour photograph of Cape Connella, viewed from sea level several hundred metres offshore
View of Cape Connella from the air
Part of Arthur Knight Slides
Colour aerial photograph of cliffs of Cape Connella, viewed from the air.
Part of Arthur Knight Slides
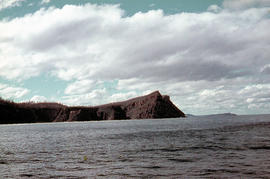
Colour photograph, taken at sea, looking towards Cape Queen Elizabeth, Bruny Island
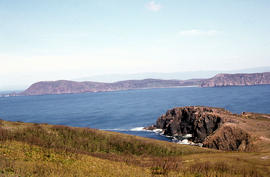
View of Cloudy Bay and West Cloudy Bay
Part of Arthur Knight Slides
Colour photograph of Cloudy Bay and West Cloudy Bay, Bruny Island.
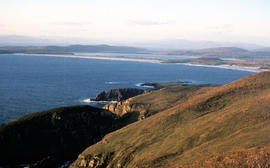
View of Cloudy Bay from East Cloudy Head
Part of Arthur Knight Slides
Colour photograph of Cloudy Bay from East Cloudy Head
Adventure Bay near Cape Queen Elizabeth
Part of Arthur Knight Slides
View from headland of Adventure Bay near Cape Queen Elizabeth on Bruny Island.
Arthur Knight
Aerial view of Fluted Cape, South Bruny Island
Part of Arthur Knight Slides
Colour aerial photograph of Fluted Cape, South Bruny Island, 1956
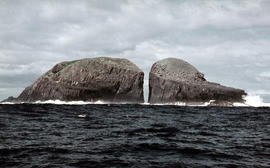
Gap between two Friars, off Bruny Island, 1962
Part of Arthur Knight Slides
Colour photograph taken at sea level of the gap between vertical cliffs of two islands in the Friars island group, off the southern coast of Bruny Island
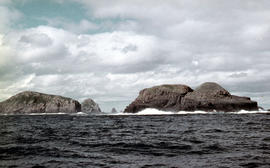
View of the Friars, off South Bruny Island
Part of Arthur Knight Slides
Colour photograph of Friars island group
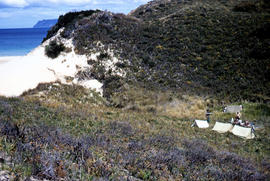
View of Bruny Island campsite of Hobart Walking Club 1955
Part of Arthur Knight Slides
Colour photograph of heath and sand dunes, site of Hobart Walking Club campsite near Cape Queen Elizabeth on Bruny Island,1955
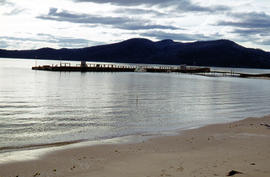
Section of old bridge at Alonnah
Part of Arthur Knight Slides
Colour photograph of old Hobart Bridge section tethered offshore at Alonnah
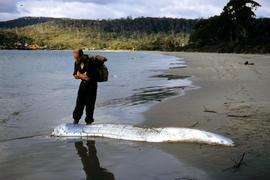
Man inspects ribbon fish on beach
Part of Arthur Knight Slides
Colour photograph of man looking at ribbonfish washed up on beach at Adventure Bay, Bruny Island
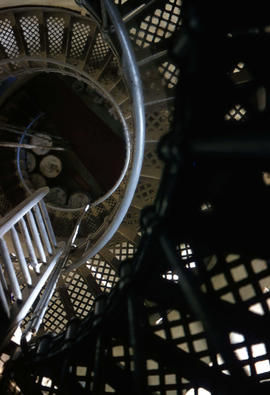
Staircase in Bruny Island Lighthouse
Part of Arthur Knight Slides
Colour photograph taken inside Bruny Island Lighthouse showing metal staircase
Setting sun shines on headland east of Cloudy Bay
Part of Arthur Knight Slides
Colour photograph of headland east of Cloudy Bay, illuminated by low setting sun.
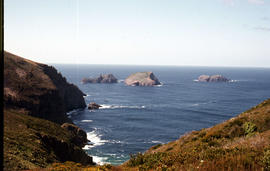
View of the Friars from shore near Pine Log Bight
Part of Arthur Knight Slides
Colour photograph of the Friars, a small group of islands, off southern shore of Bruny Island, taken from shore near Pine Log Bight.
Part of Arthur Knight Slides
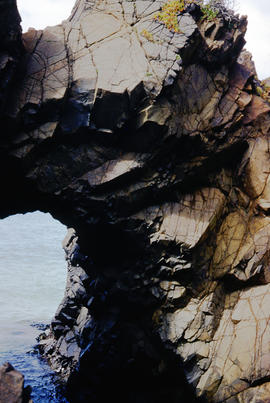
Arch island on Bruny Island
Arthur Knight
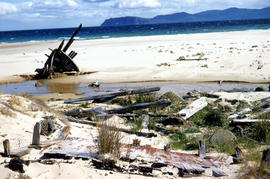
Wreck on beach near Mars Bluff
Part of Arthur Knight Slides
Colour photograph of rotting timbers from wreck of boat, half-buried in the sand near shallow creek on beach near Mars Bluff, Bruny Island, Photograph possibly taken 1963.
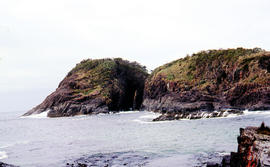
Cape Elizabeth arch on North Bruny Island
Part of Arthur Knight Slides
Colour photograph of archway at Cape Elizabeth on shoreline at North Bruny Island
Arthur Knight
Aerial picture of Barnes Bay, 1950s
Part of Arthur Knight Slides
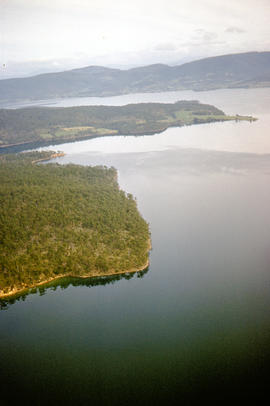
Aerial photograph of Barnes Bay on eastern side of Bruny Island.
Aerial picture of boat in Barnes Bay
Part of Arthur Knight Slides
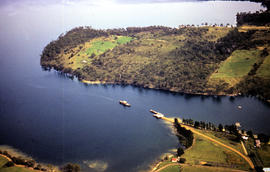
Colour photograph from the air showing a boat in Barnes Bay approaching or leaving jetty.
View of Cape Connella from sea level
Part of Arthur Knight Slides
Colour photograph shows Cape Connella taken at sea level
View of lighthouse at Cape Bruny
Part of Arthur Knight Slides
Colour photograph of Bruny Island lighthouse looking south
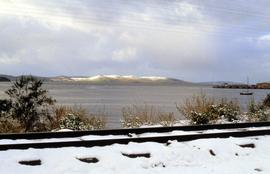
Snow on Hobart waterfront 1986
Part of Hal Wyatt Collection
Colour photograph of snow on railway tracks on shore of Derwent River 1986
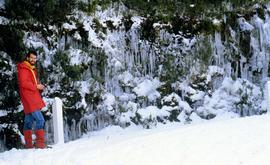
Part of Hal Wyatt Collection
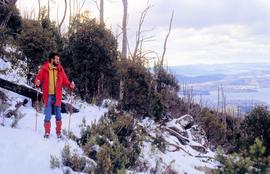
Colour photograph taken near the Springs of man dressed in red beside road to Mount Wellington, with icicles dangling from the vegetation after a snowstorm
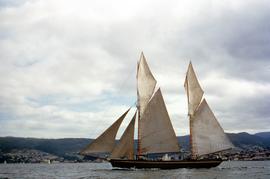
Part of Hal Wyatt Collection
Colour photograph of SV May Queen, sailing on Derwent River in trading vessel race in 1954

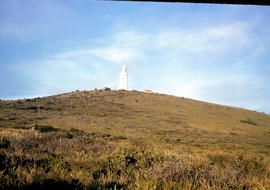
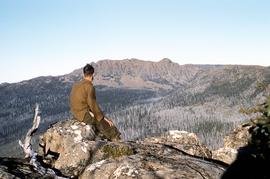
Man looking to Mount Marian from Mount Charles
Part of Hal Wyatt Collection
Colour photograph of man standing on ledge of Mount Charles looking towards Mount Marian. Man wearing brown felt hat, leather chaps and woollen shirt
Part of Hal Wyatt Collection
Colour photograph of man looking down Mount Wellington, with skis, from Milles Track
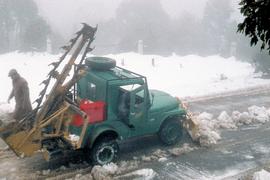
Snow plowing on road to Mount Wellington
Part of Hal Wyatt Collection
Colour photograph of Post Master General Department Jeep equipped with front-mounted and rear-mounted snowclearing implements moving snow and ice from road on Mount Wellington, 1960
Part of Hal Wyatt Collection
Colour photograph shows man sitting on rock atop Mount Marian looking across valley to Collins Bonnet
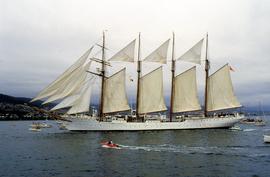
Spanish training ship Juan Sebastian de Elcano on Derwent
Part of Hal Wyatt Collection
Colour photograph of the Spanish Armada training ship Juan Sebastian de Elcano, a four-masted barque, sailing on the Derwent River during the Tall Ships event held in 1988
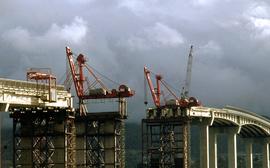
Cranes repairing Tasman Bridge
Part of Hal Wyatt Collection
Colour photograph shows cranes atop pylons at the site of repair work to Tasman Bridge, damaged by the crash of the ore carrier Lake Illawarra in January 1975; missing pylons being replaced.
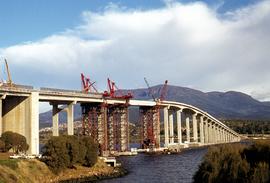
Repairs on Tasman Bridge roadspan
Part of Hal Wyatt Collection
Photograph in colour, taken from Eastern Shore of Derwent River, depicting repairs to roadway and pylons damaged in January 1975 crash of bulk ore carrier Lake Illawarra. Mount Wellington in background.
Hal Wyatt
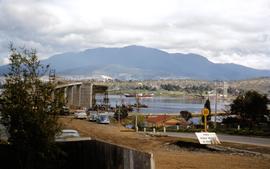
Beginning of construction of Tasman Bridge
Part of Hal Wyatt Collection
Colour photograph depicts vehicular traffic on the temporary, floating Hobart Bridge, as consctruction begins downstream on the multi-lane Tasman Bridge to join the eastern and western shores of the river.
Hal Wyatt
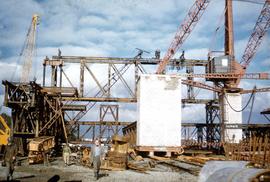
Part of Hal Wyatt Collection
Construction site on riverbank as work begins on Tasman Bridge; cranes, steel scaffolding and brickwork evident. Workers in hard hats; one man striding towards camera, wearing gumboots is poking his tongue out at the photographer.
Hal Wyatt
Eastern approach to Tasman Bridge during construction
Part of Hal Wyatt Collection
Colour photograph of 30 MPH speed limit to motorists approaching the Hobart Bridge during construction of the downstream Tasman Bridge, from the eastern shore of the Derwent River.
Hal Wyatt
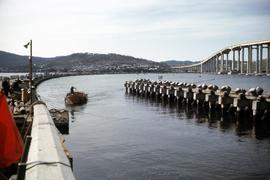
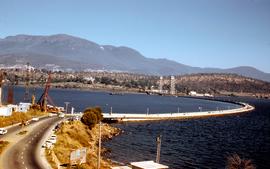
Hobart Bridge and Tasman Bridge
Part of Hal Wyatt Collection
Colour photograph taken from the western shore of the Derwent River, depicts vehicles travelling on the temporary, floating Hobart Bridge, while the nearly complete multi-lane Tasman Bridge to join the eastern and western shores of the river, is visible downstream.
Hal Wyatt
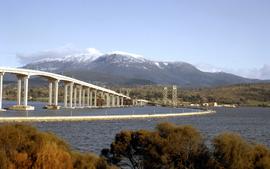
Hobart Bridge and Tasman Bridge in winter 1964
Part of Hal Wyatt Collection
Colour photograph of two bridges across the Derwent River, the Hobart Bridge, right, and the Tasman Bridge, left, as viewed from the eastern shore of the Derwent in August 1964. Snow caps Mount Wellington in the background.
Hal Wyatt
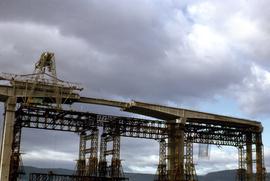
Centre span of Tasman Bridge under construction
Part of Hal Wyatt Collection
Colour photograph of the centre span of the Tasman Bridge is under construction in 1963, as viewed from a vehicle travelling on the nearby Hobart Bridge, which carries vehicular traffic across the Derwent River on a temporary, floating platform.
Hal Wyatt