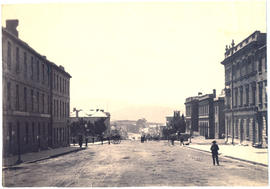
Macquarie Street, Hobart from Mercury Office
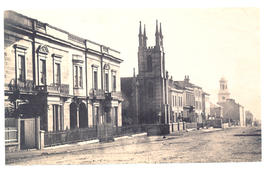
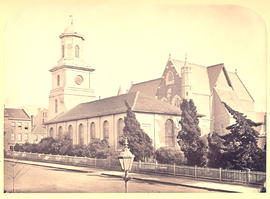
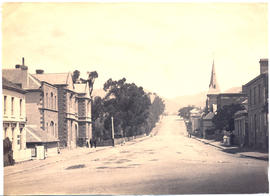
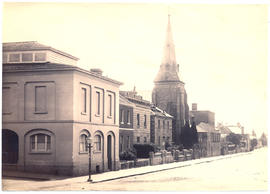
St. Joseph's Catholic Church
St. Joseph's Catholic Church
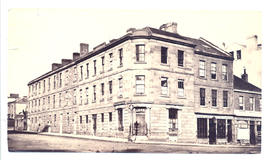
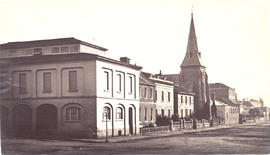
Buildings on the corner of Macquarie and Murray Streets
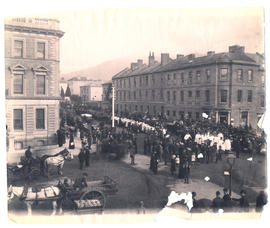
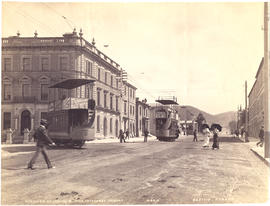
Procession approaching corner of Murray and Macquarie Streets

Harrington Street with the Collins Street intersection
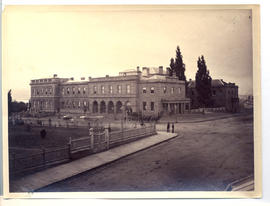
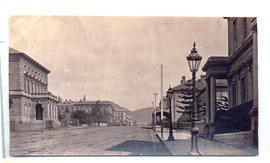
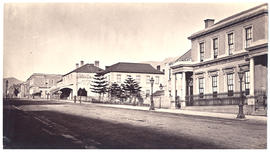
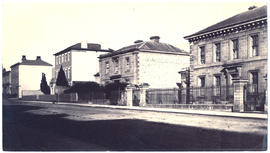
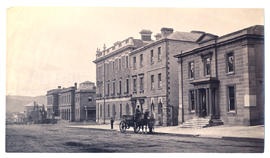
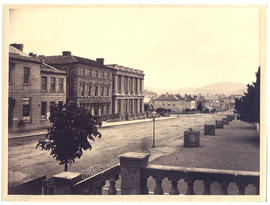
Public buildings in Macquarie Street
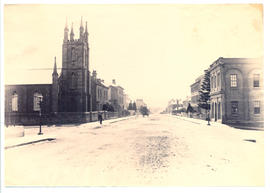
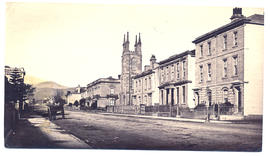
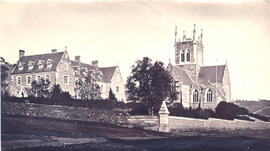
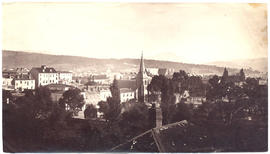
St. Joseph's Catholic Church and old St. David's Cathedral
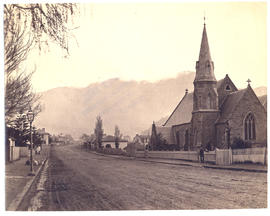
All Saints Church Macquarie Street
Macquarie Street, Hobart looking east
The Bank of Van Diemen's Land and Hobart Town Hotel
Bank of Australasia and Macquarie House
The Tasmanian Club, Macquarie Street, Hobart
Old St. David's Cathedral
Old St. David's Cathedral
Macquarie Street, Hobart, Tasmania, looking south from St. David's Cathedral
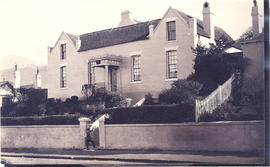
Presslands House
St. Mary's Cathedral

St. John's Church Goulburn Street
Photograph of Davey Street, Hobart, looking west
Photograph of the Oddfellows Hall and Congregational Church
Photograph of the Oddfellows Hall
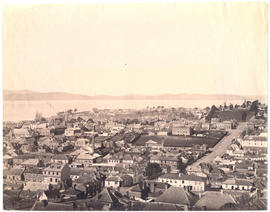
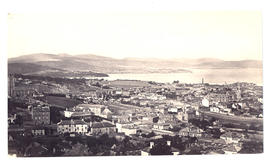
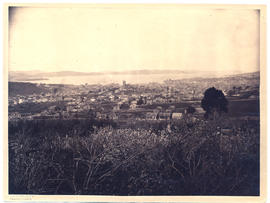
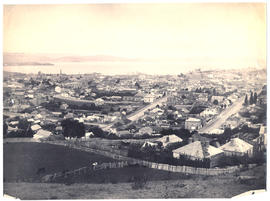
Hobart looking south
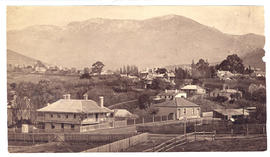
Mt. Wellington from St. George's Hill
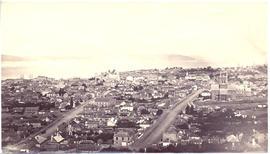
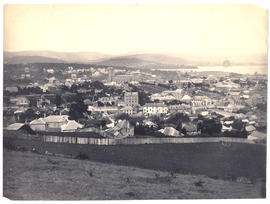
Hobart from the top of Murray Street
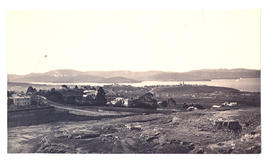
Hobart, looking towards St. George's Hill
Hobart view to the east
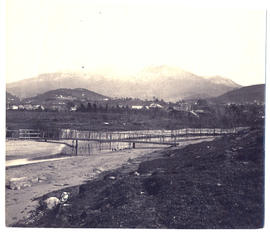
Mt. Wellington from the foot of St. George's Hill
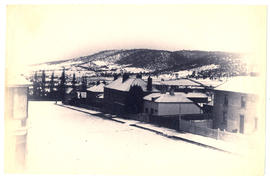
Hobart streetscape in snow
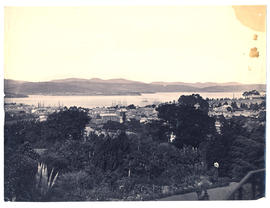
View from Mr. Robert's garden, West Hobart
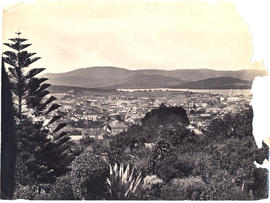
View from Mr. Robert's garden, West Hobart
Hobart looking east
Hobart from a garden behind Salamanca Place
Hobart looking south east

Hobart from Huon Road looking east
Hobart view
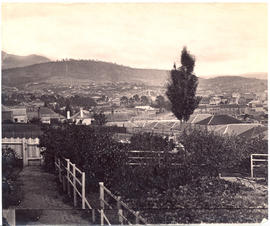
View of Hobart from West Hobart
Lantern Slide No. 9

Lantern Slide No. 8
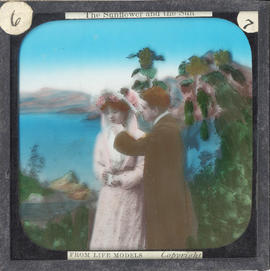
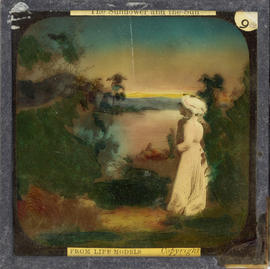
Lantern Slide No. 7
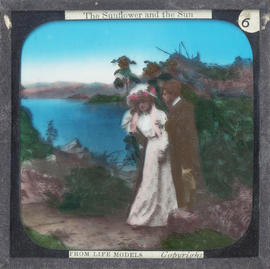
Lantern Slide No. 6
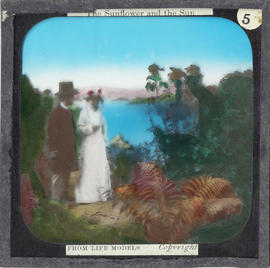
Lantern Slide No. 5
Lantern Slide No. 4
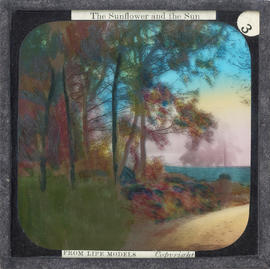
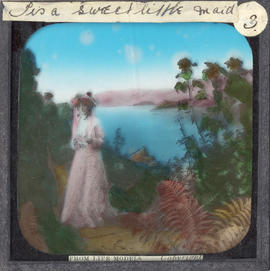
Lantern Slide No. 3
Lantern Slide No. 2
Lantern Slide No. 14
Lantern Slide No. 13
Lantern Slide No. 12
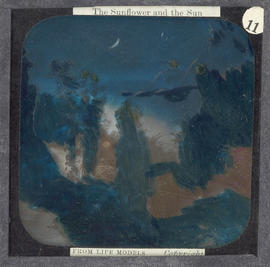
Lantern Slide No. 11
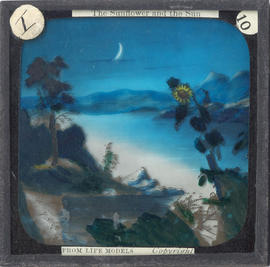
Lantern Slide No. 10
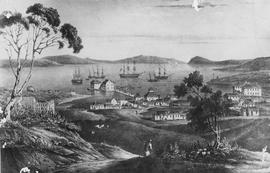
Photograph of a sketch of Old Hobart town

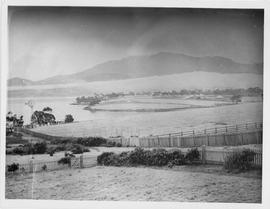
Photograph of Geilston Bay
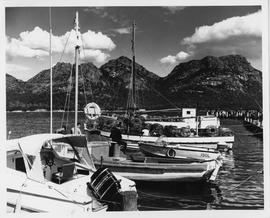
Photograph of Coles Bay
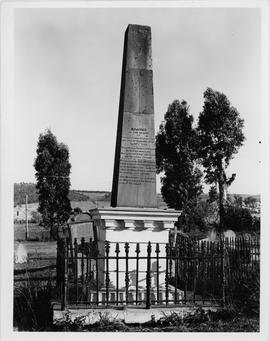
Photograph of Knopwoods Grave

View over the Tamar River to the public baths from Kings Bridge
View over Lindisfarne paddocks in the snow
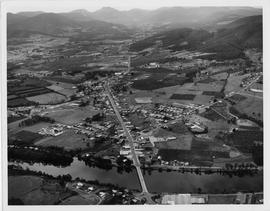
Photograph of Huonville
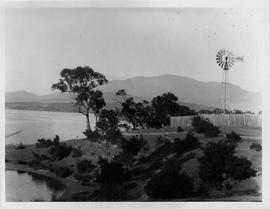
View of a Aermotor windmill
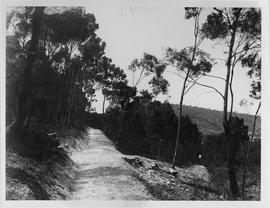
View of track
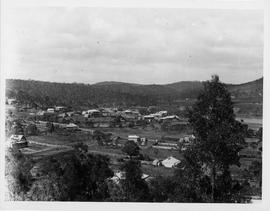
View of houses
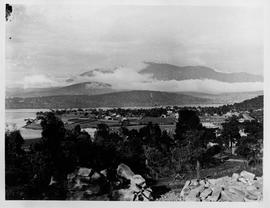
Lindisfarne with a view to the mountain
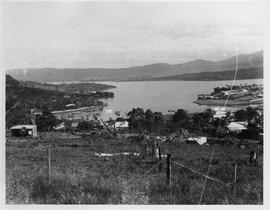
Lindisfarne from the hill
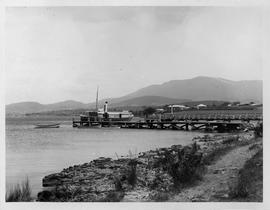
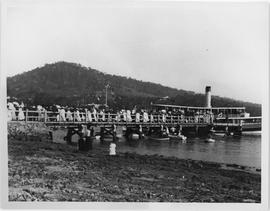
Ferry at the Lindisfarne Jetty
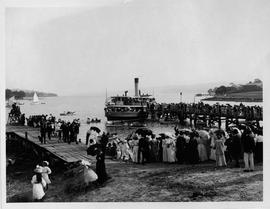
Crowd and ferry at the Lindisfarne Jetty
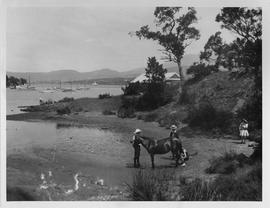
Children and pony on the beach
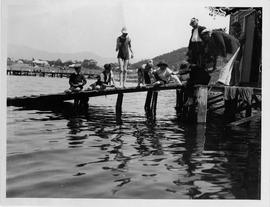
Children fishing from the jetty
Children on the foreshore

Photograph of Eaglehawk Neck
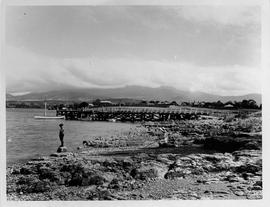
Lindisfarne Jetty
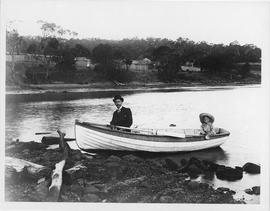
Man and small child in a rowboat
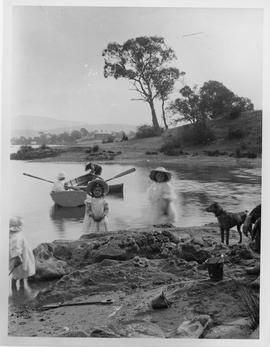
Woman and children on the foreshore
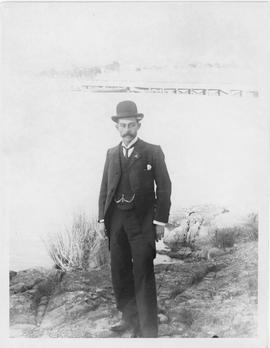
Man in a bowler hat

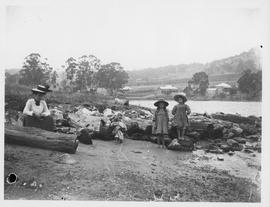
Group on the foreshore
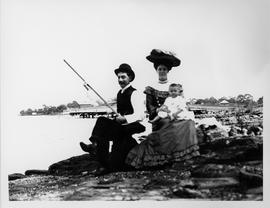
Photograph of family group fishing
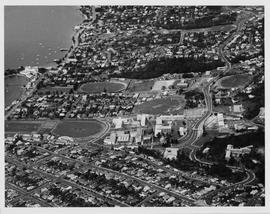
Aerial view of UTAS Sandy Bay Campus
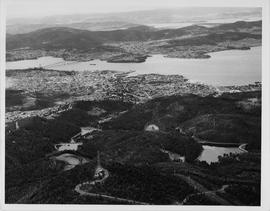
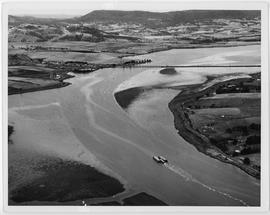
Aerial view of the Ridgeway Reservoir
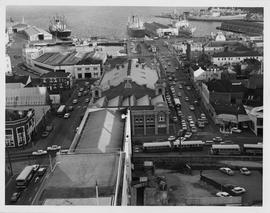
Aerial view of Watermans Dock
Photograph of Lindisfarne regatta
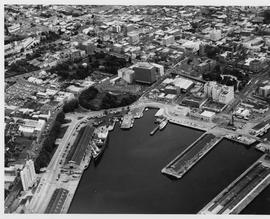
Aerial view of City Hall and port
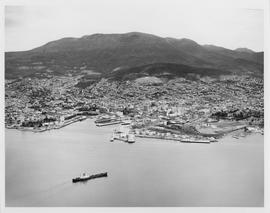
Aerial view of of the port of Hobart
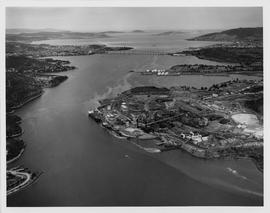
Aerial view of the Zinc Works
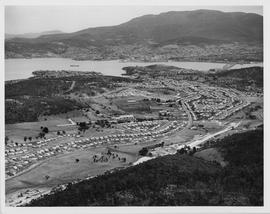
Aerial view of Brooker Highway
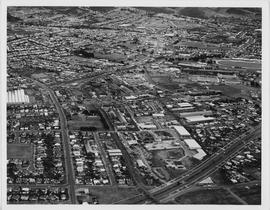
Aerial view of Mornington and Warrane
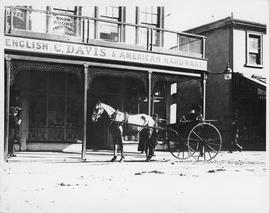
Photograph of carriage outside C Davis store
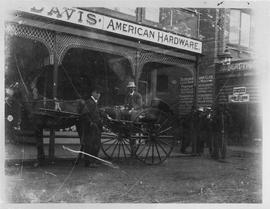
Photograph of carriage outside Charles Davis store, Hobart
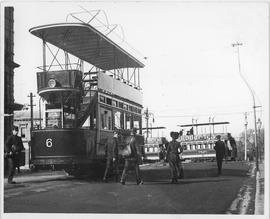
Photograph of double decker electric tram
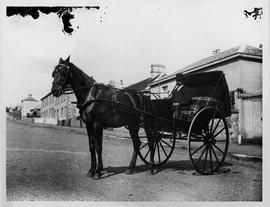
Photograph of man in a gig
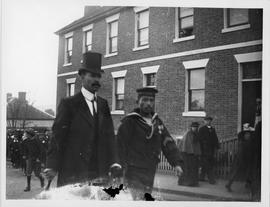
Photograph of Japanese sailors
Photograph of Bridgewater

Sandy Bay campus facing Mt Wellington
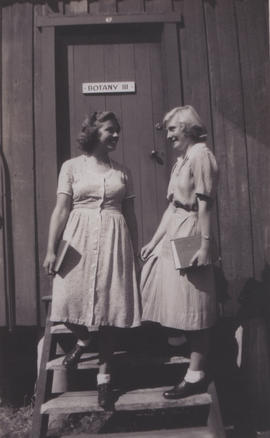
Two students
Sandy Bay campus towards Derwent River
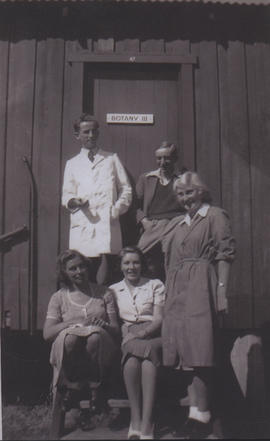
Outside a Botany shed

Sandy Bay campus facing Mt Wellington
Sandy Bay Road and tram from the Rifle Range sheds

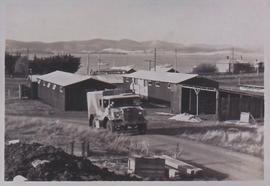
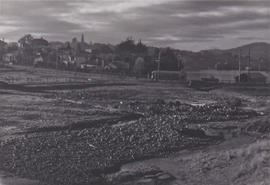
Old Rifle Range sheds, Sandy Bay campus

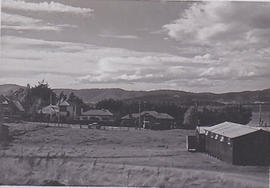
Sandy Bay campus facing Earl Street
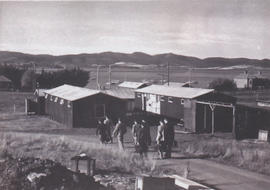
Staff and students on Sandy Bay campus
Sandy Bay campus facing Alexander Street
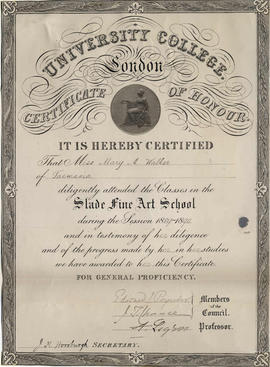
Mary Augusta Walker : certificate from the Slade Fine Art School, University College London