Handbooks of the Hobart Chamber of Commerce
Handbooks of the Hobart Chamber of Commerce
Tourist map of Tasmania
Tourist map of Tasmania
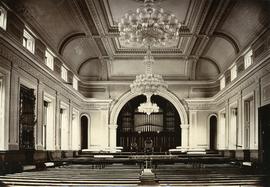
Interior of Town Hall, Hobart
Printed books
Printed books
Annual reports of the Hobart Chamber of Commerce
Annual reports of the Hobart Chamber of Commerce
Music
Music
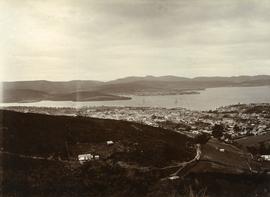
Elevated view of Hobart looking to upper end of Liverpool Street
Buttons, badges and medals
Buttons, badges and medals
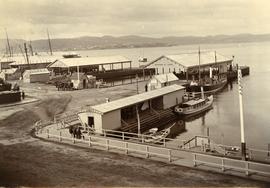
Franklin Pier, Brooke Street Pier and Watermen’s Wharf, Hobart
Miscellaneous items
Miscellaneous items
Elevated view of Goulburn Street, Hobart
The Mercury - 21 June 1887
The Mercury - 21 June 1887
Correspondence 1932-1952
Correspondence 1932-1952
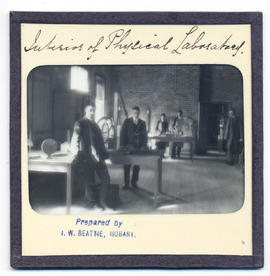
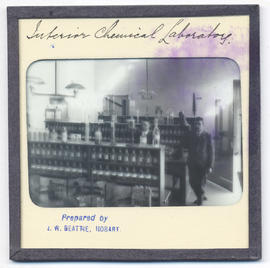
Interior of physical laboratory at the rear of Domain House
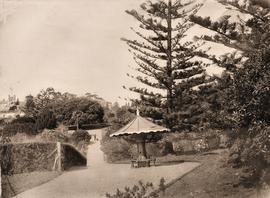
Decorative seat at Royal Botanical Gardens
Script "Africa calling"
Script "Africa calling"
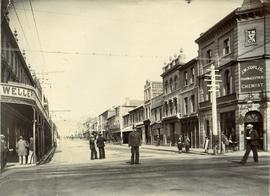
Liverpool Street, Hobart
Centenary Handbook of the Hobart Chamber of Commerce
Centenary Handbook of the Hobart Chamber of Commerce
Sarah Westall Meredith to Mary Meredith
Sarah Westall Meredith to Mary Meredith
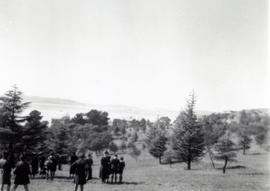
Inspecting the Soldiers Walk memorial
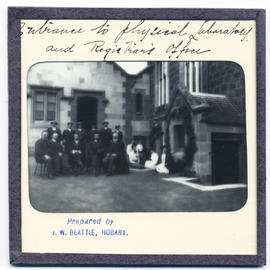
Entrance to physical laboratory and registrars office at Domain House
Correspondence 1932-1952
Correspondence 1932-1952
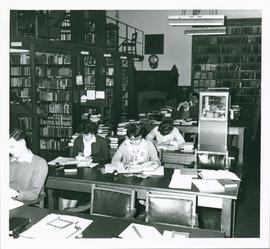
Library Staff 1952
Library Staff 1952
Hobart Commerce
Hobart Commerce
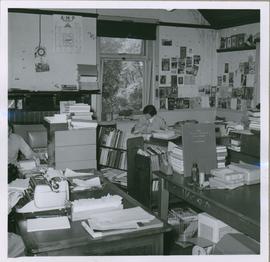
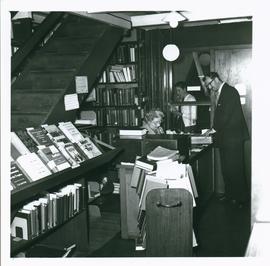
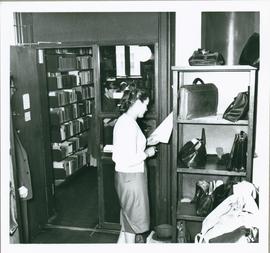
Library workroom
Runnymede House
Runnymede House
Loans desk
Sabina Meredith to parents
Sabina Meredith to parents
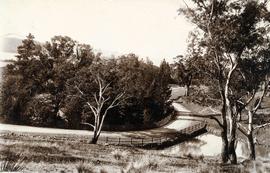
Lower Domain Road at back of Royal Botanical Gardens
The Mercury - 11th November 1918.
The Mercury - 11th November 1918.

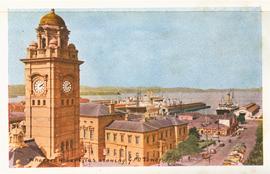
Hobart, Tasmania
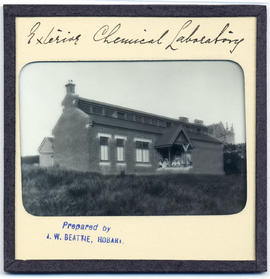
Exterior of chemical laboratory at Domain House
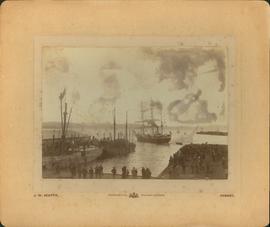
Hobart wharves, steam sail boats
Correspondence - Hilda Bridges to Frances Fuller 1958 - 1964
Correspondence - Hilda Bridges to Frances Fuller 1958 - 1964
Loans desk
Stables at Runnymede House
Stables at Runnymede House
Runnymede House and stables
Runnymede House and stables
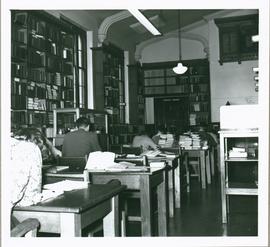
Main reading area
Main reading area
Library entrance
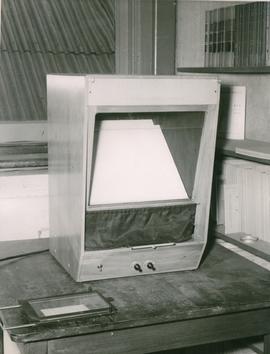
Microfilm reader
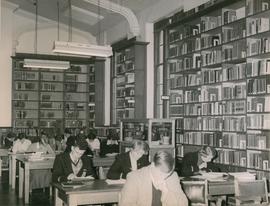
Main reading area
Receipt book
Receipt book
Interior of chemical laboratory at Domain House
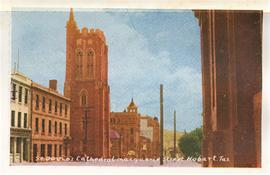
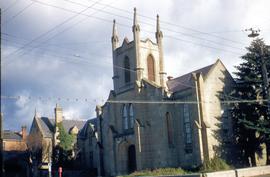
St. David's Cathedral, Macquarie Street, Hobart, Tasmania
The Mercury - July 1954
The Mercury - July 1954
Boat Harbour, Hobart
Directories and Annual Reports of the Hobart Chamber of Commerce
Directories and Annual Reports of the Hobart Chamber of Commerce
Hobart Shopping Guide
Hobart Shopping Guide
Who can help
Who can help
Minutes of the Hobart Chamber of Commerce 1918-1927
Minutes of the Hobart Chamber of Commerce 1918-1927
Minutes of the Hobart Chamber of Commerce 1938-1939
Minutes of the Hobart Chamber of Commerce 1938-1939
Floating Bridge, Derwent River
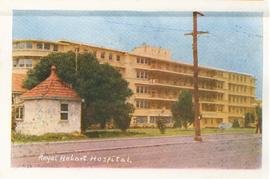
Royal Hobart Hospital
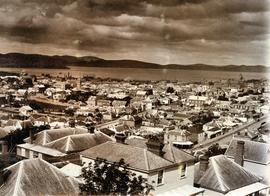
Rooftops of Hobart looking east
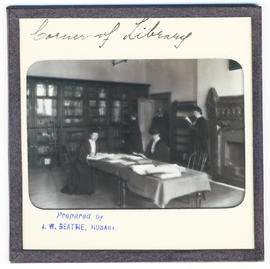
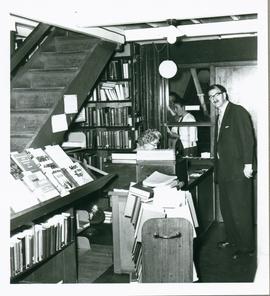
Corner of the library at Domain House
Bank book
Bank book
Wharves, Hobart, Tas., showing G.P.O. Tower
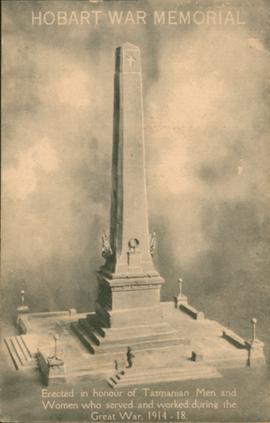
War Memorial, Hobart
Visitors at Falls Hut, Mount Wellington
Identity
Identity
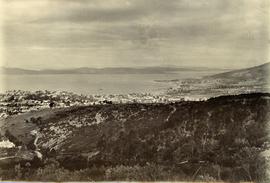
View from West Hobart
View from West Hobart
Hobart from the river
Hobart from the river
Stone house
Stone house
Cascades, Mount Wellington & Fern Tree Bower
Cascades, Mount Wellington & Fern Tree Bower
Cascades, Mount Wellington & Fern Tree Bower
Cascades, Mount Wellington & Fern Tree Bower
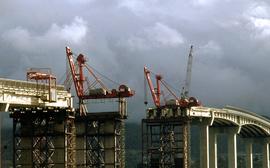
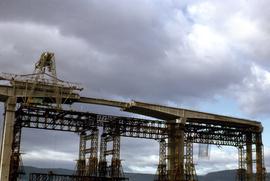
Cranes repairing Tasman Bridge
Repairs on Tasman Bridge roadspan
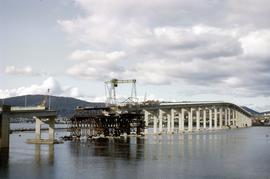
Beginning of construction of Tasman Bridge
Tasman Bridge works
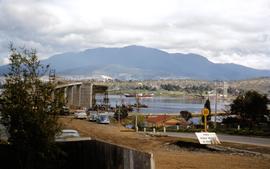
Eastern approach to Tasman Bridge during construction
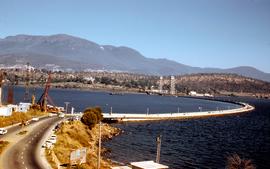
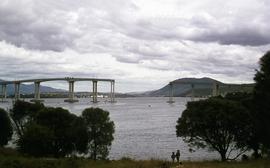
Hobart Bridge and Tasman Bridge
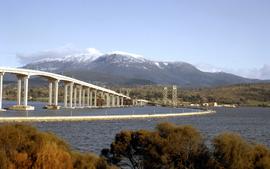
Hobart Bridge and Tasman Bridge in winter 1964
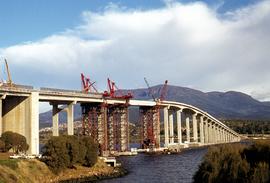
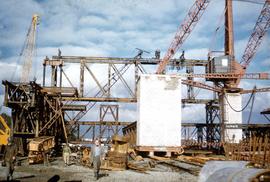
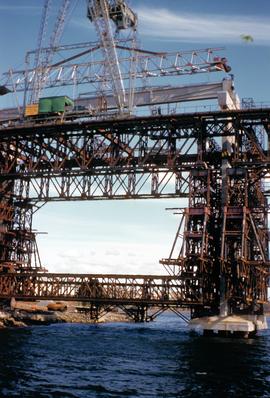
Centre span of Tasman Bridge under construction

Building main navigational span of Tasman Bridge 1963
Building Tasman Bridge 1962
Building temporary traffic span on Tasman Bridge 1964
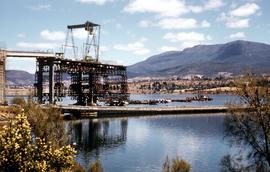
Building Tasman Bridge early 1960s
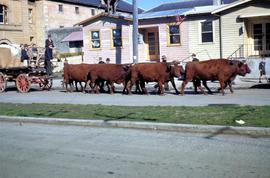
Bullock team in Dunn Street, Hobart, 1952

Cadet dinghy on Derwent
Chalmer’s church building in Hobart before demolition
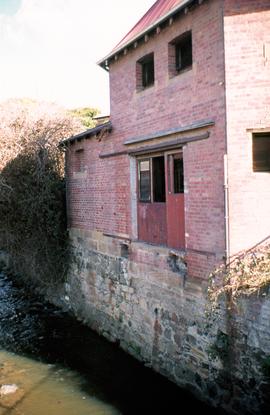
Collins Street mill on bank of Hobart Rivulet
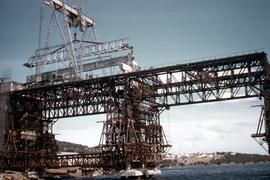
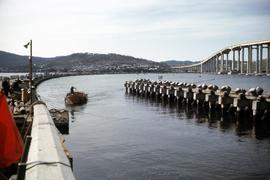
Construction of Tasman Bridge 1961
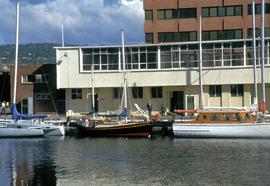
Boats moored at Constitution Dock in front of Marine Board building
Sailing boats moored at Constitution Dock

Reflections on water at Constitution Dock 1954
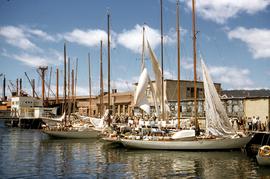
After the yacht race
Missing span of Tasman Bridge after crash of Lake Illawarra
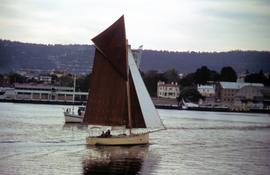
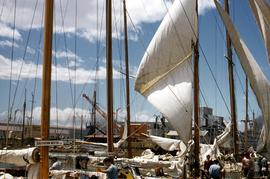
Dark sails on yacht
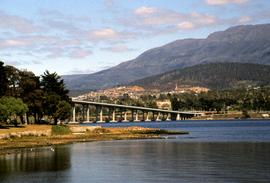
Derwent River and Tasman Bridge
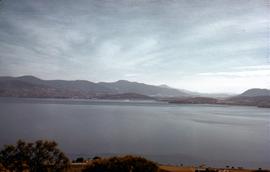
View of Derwent River from Doughty Point 1952
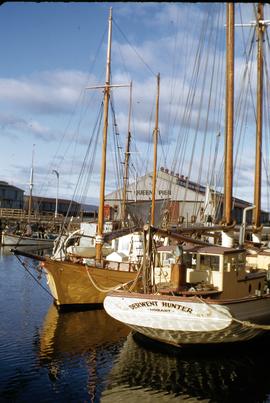
Derwent Hunter and Premier at Hobart docks
Auxiliary Ketch Lenna at Hobart Regatta 1957
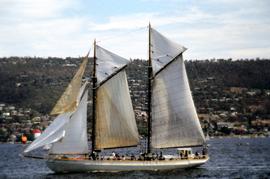
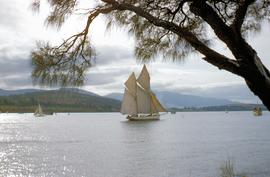
Derwent Hunter sailing off Sandy Bay
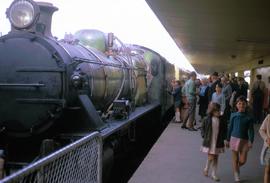
Steam train arrives at Hobart Station
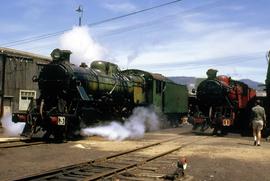
C Class steam locomotives at Hobart roundhouse

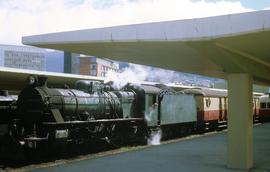
C Class locomotive pulls passenger cars at Hobart Station
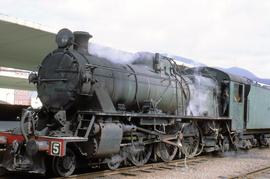
C Class locomotive idle at Hobart Station

Trains at Hobart roundhouse
C class locomotive at Hobart Station platform